
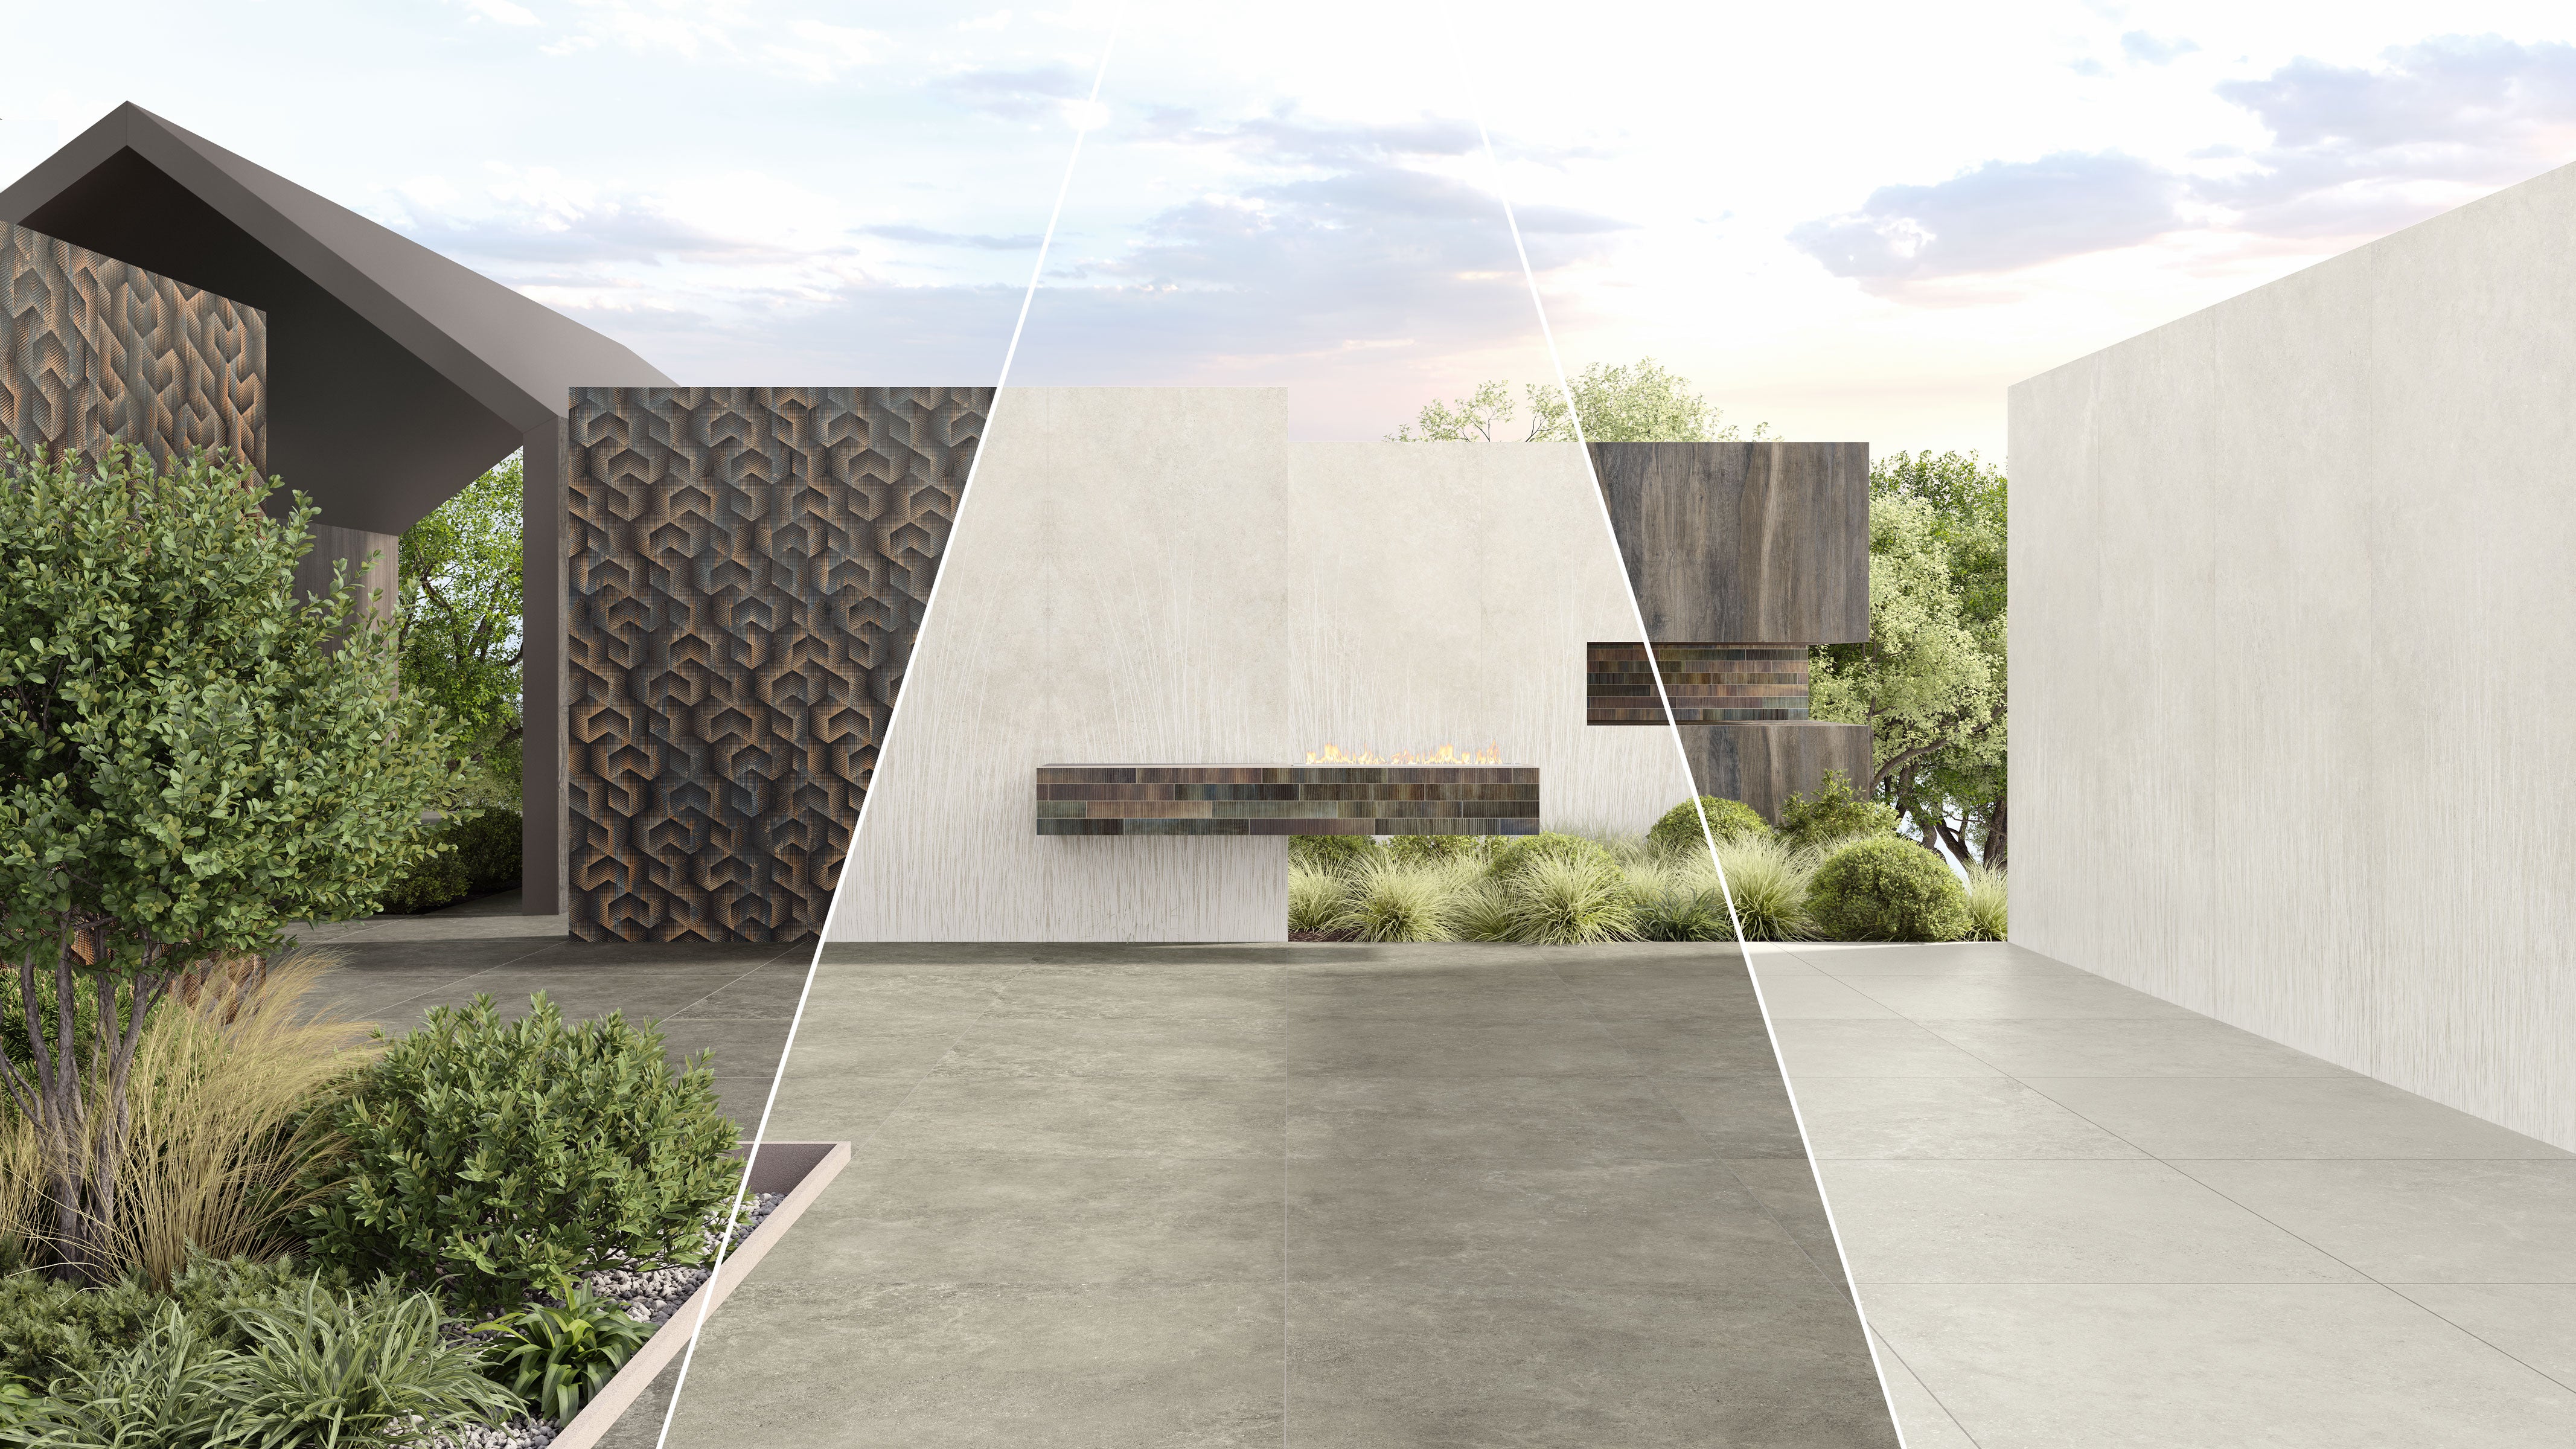
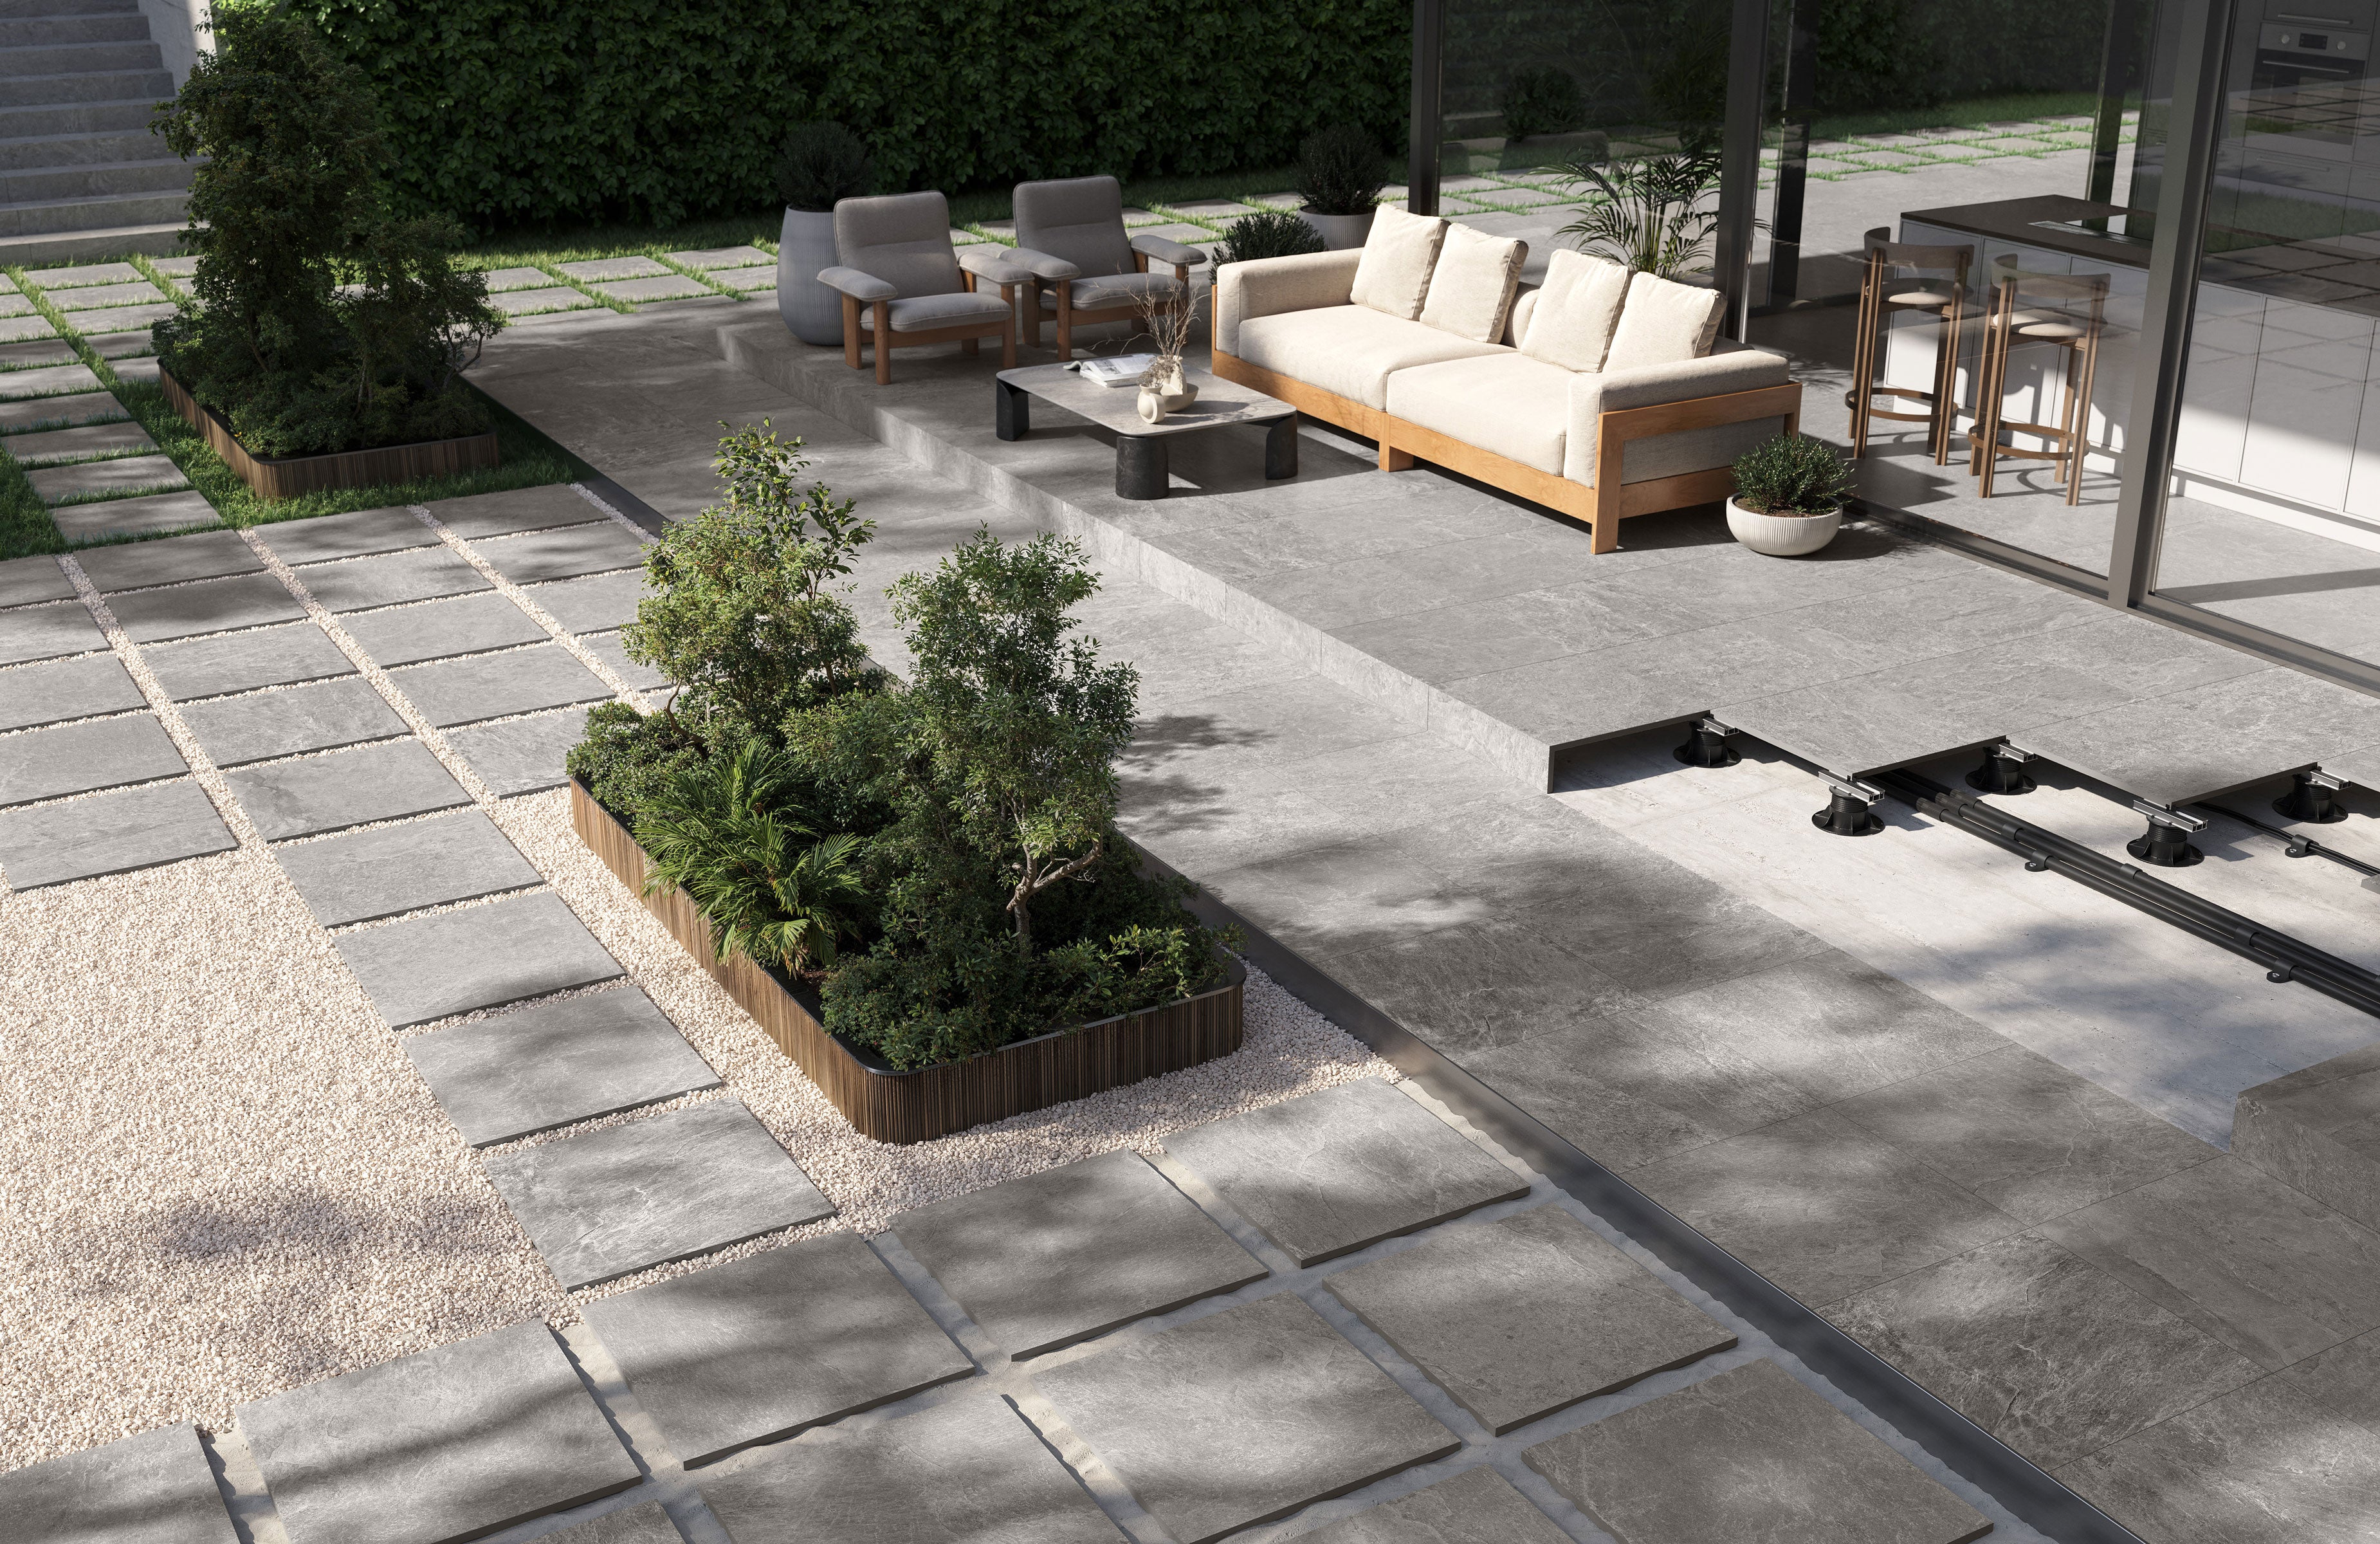
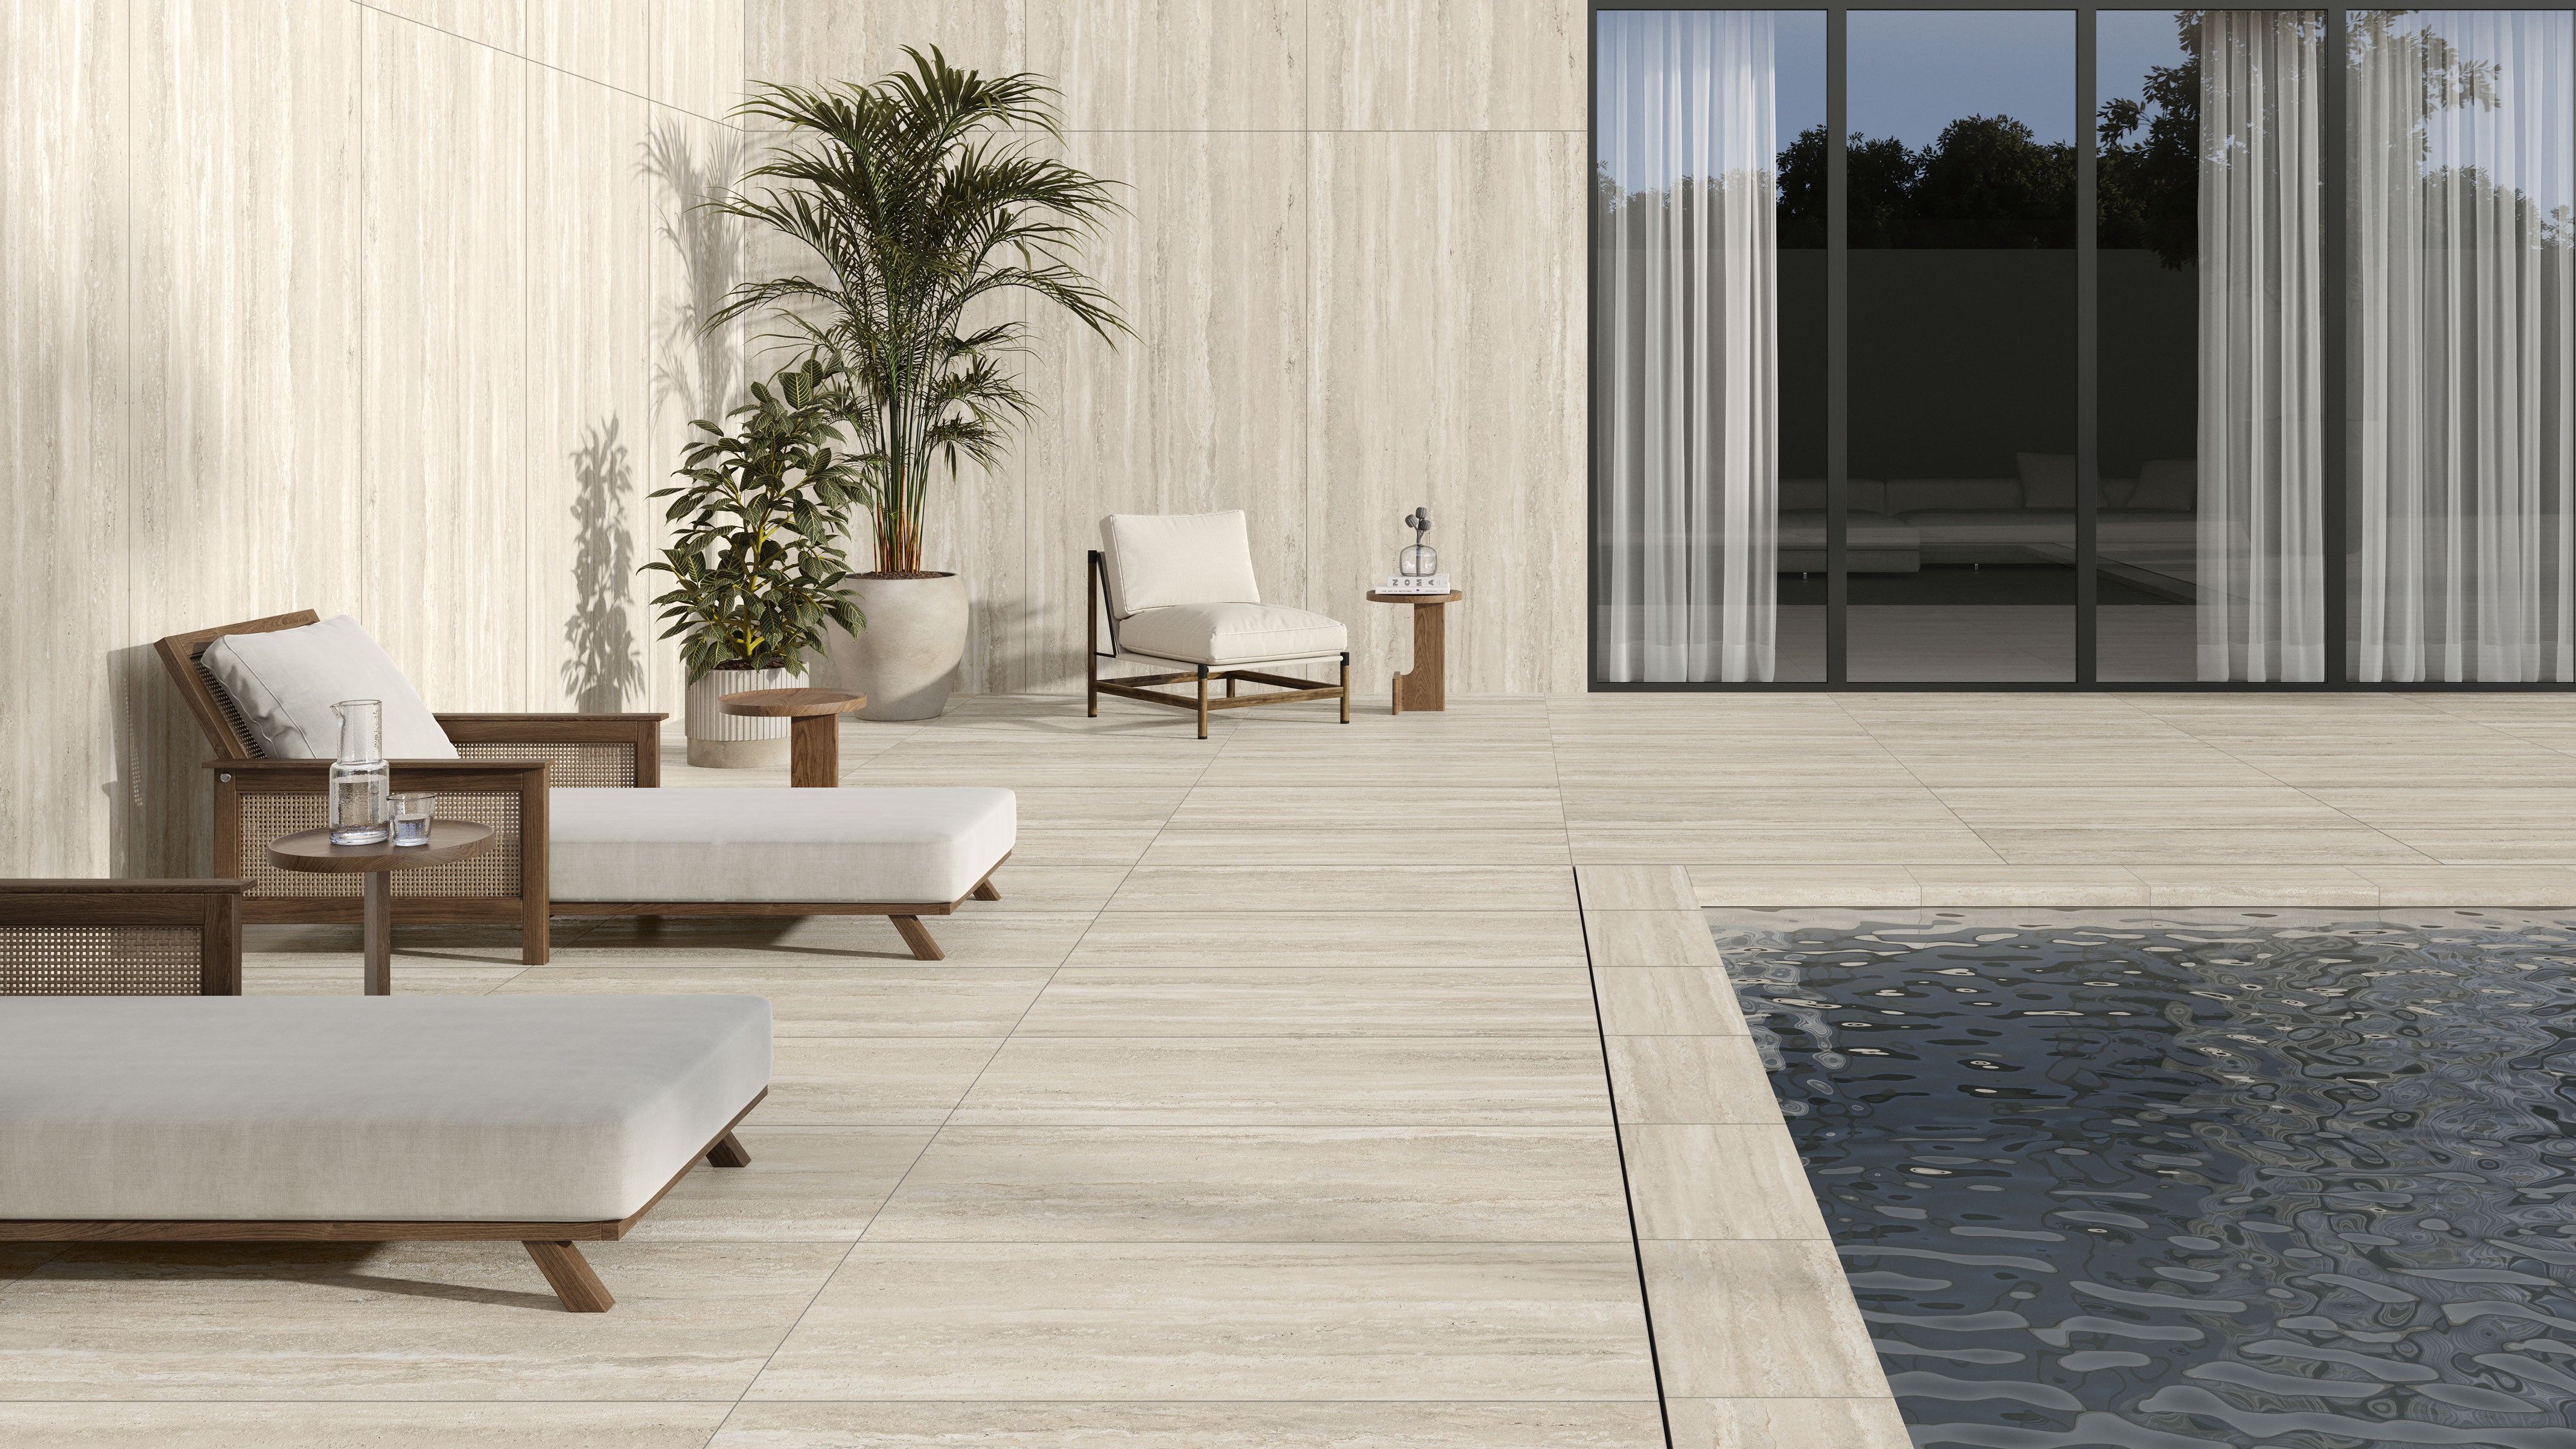
2CM thick paving systems for exterior floor coverings offer a blend of design, versatility, performance, simple installation and eco-sustainability.
High Technical and Visual Performance
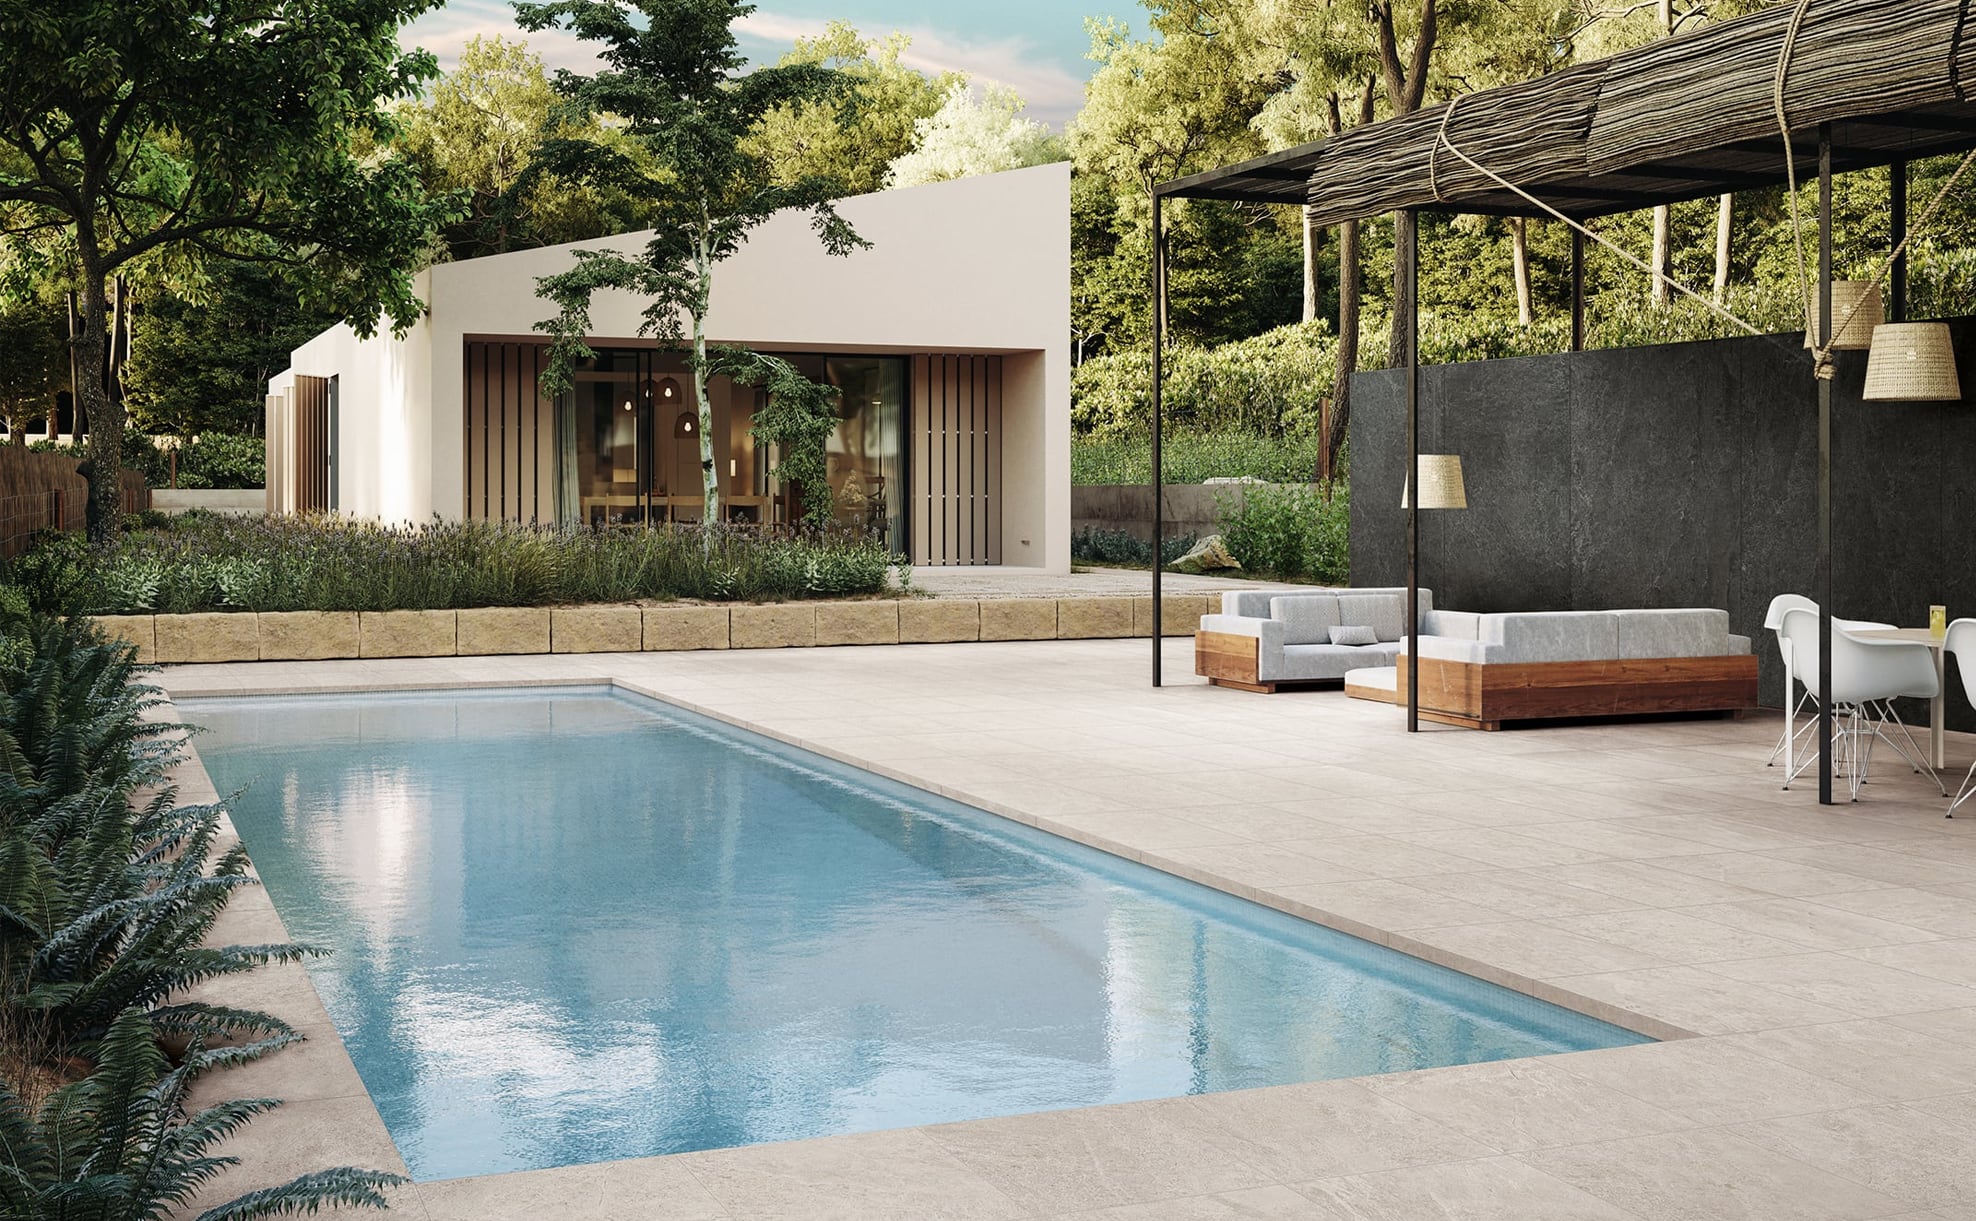
• Swimming Pool, Sun Deck
• Terrace, Path
• Steps, Handrail, Wall
• Drive-Way
• Outdoor Fire Pit
• Rooftop, Outdoor Kitchen Areas
• Exterior Cladding

Advantages of Outdoor Porcelain Pavers
• Anti-slip
• Quick and easy to install, Easy to remove
• Squared , Easy to clean
• Resistant to thermal shock
• Highly resistant to chemicals, mold, mildew, salt, corrosion & stains
• Massive over life cost savings
• Heavy Commercial traffic areas
• UV resistant and colorfast

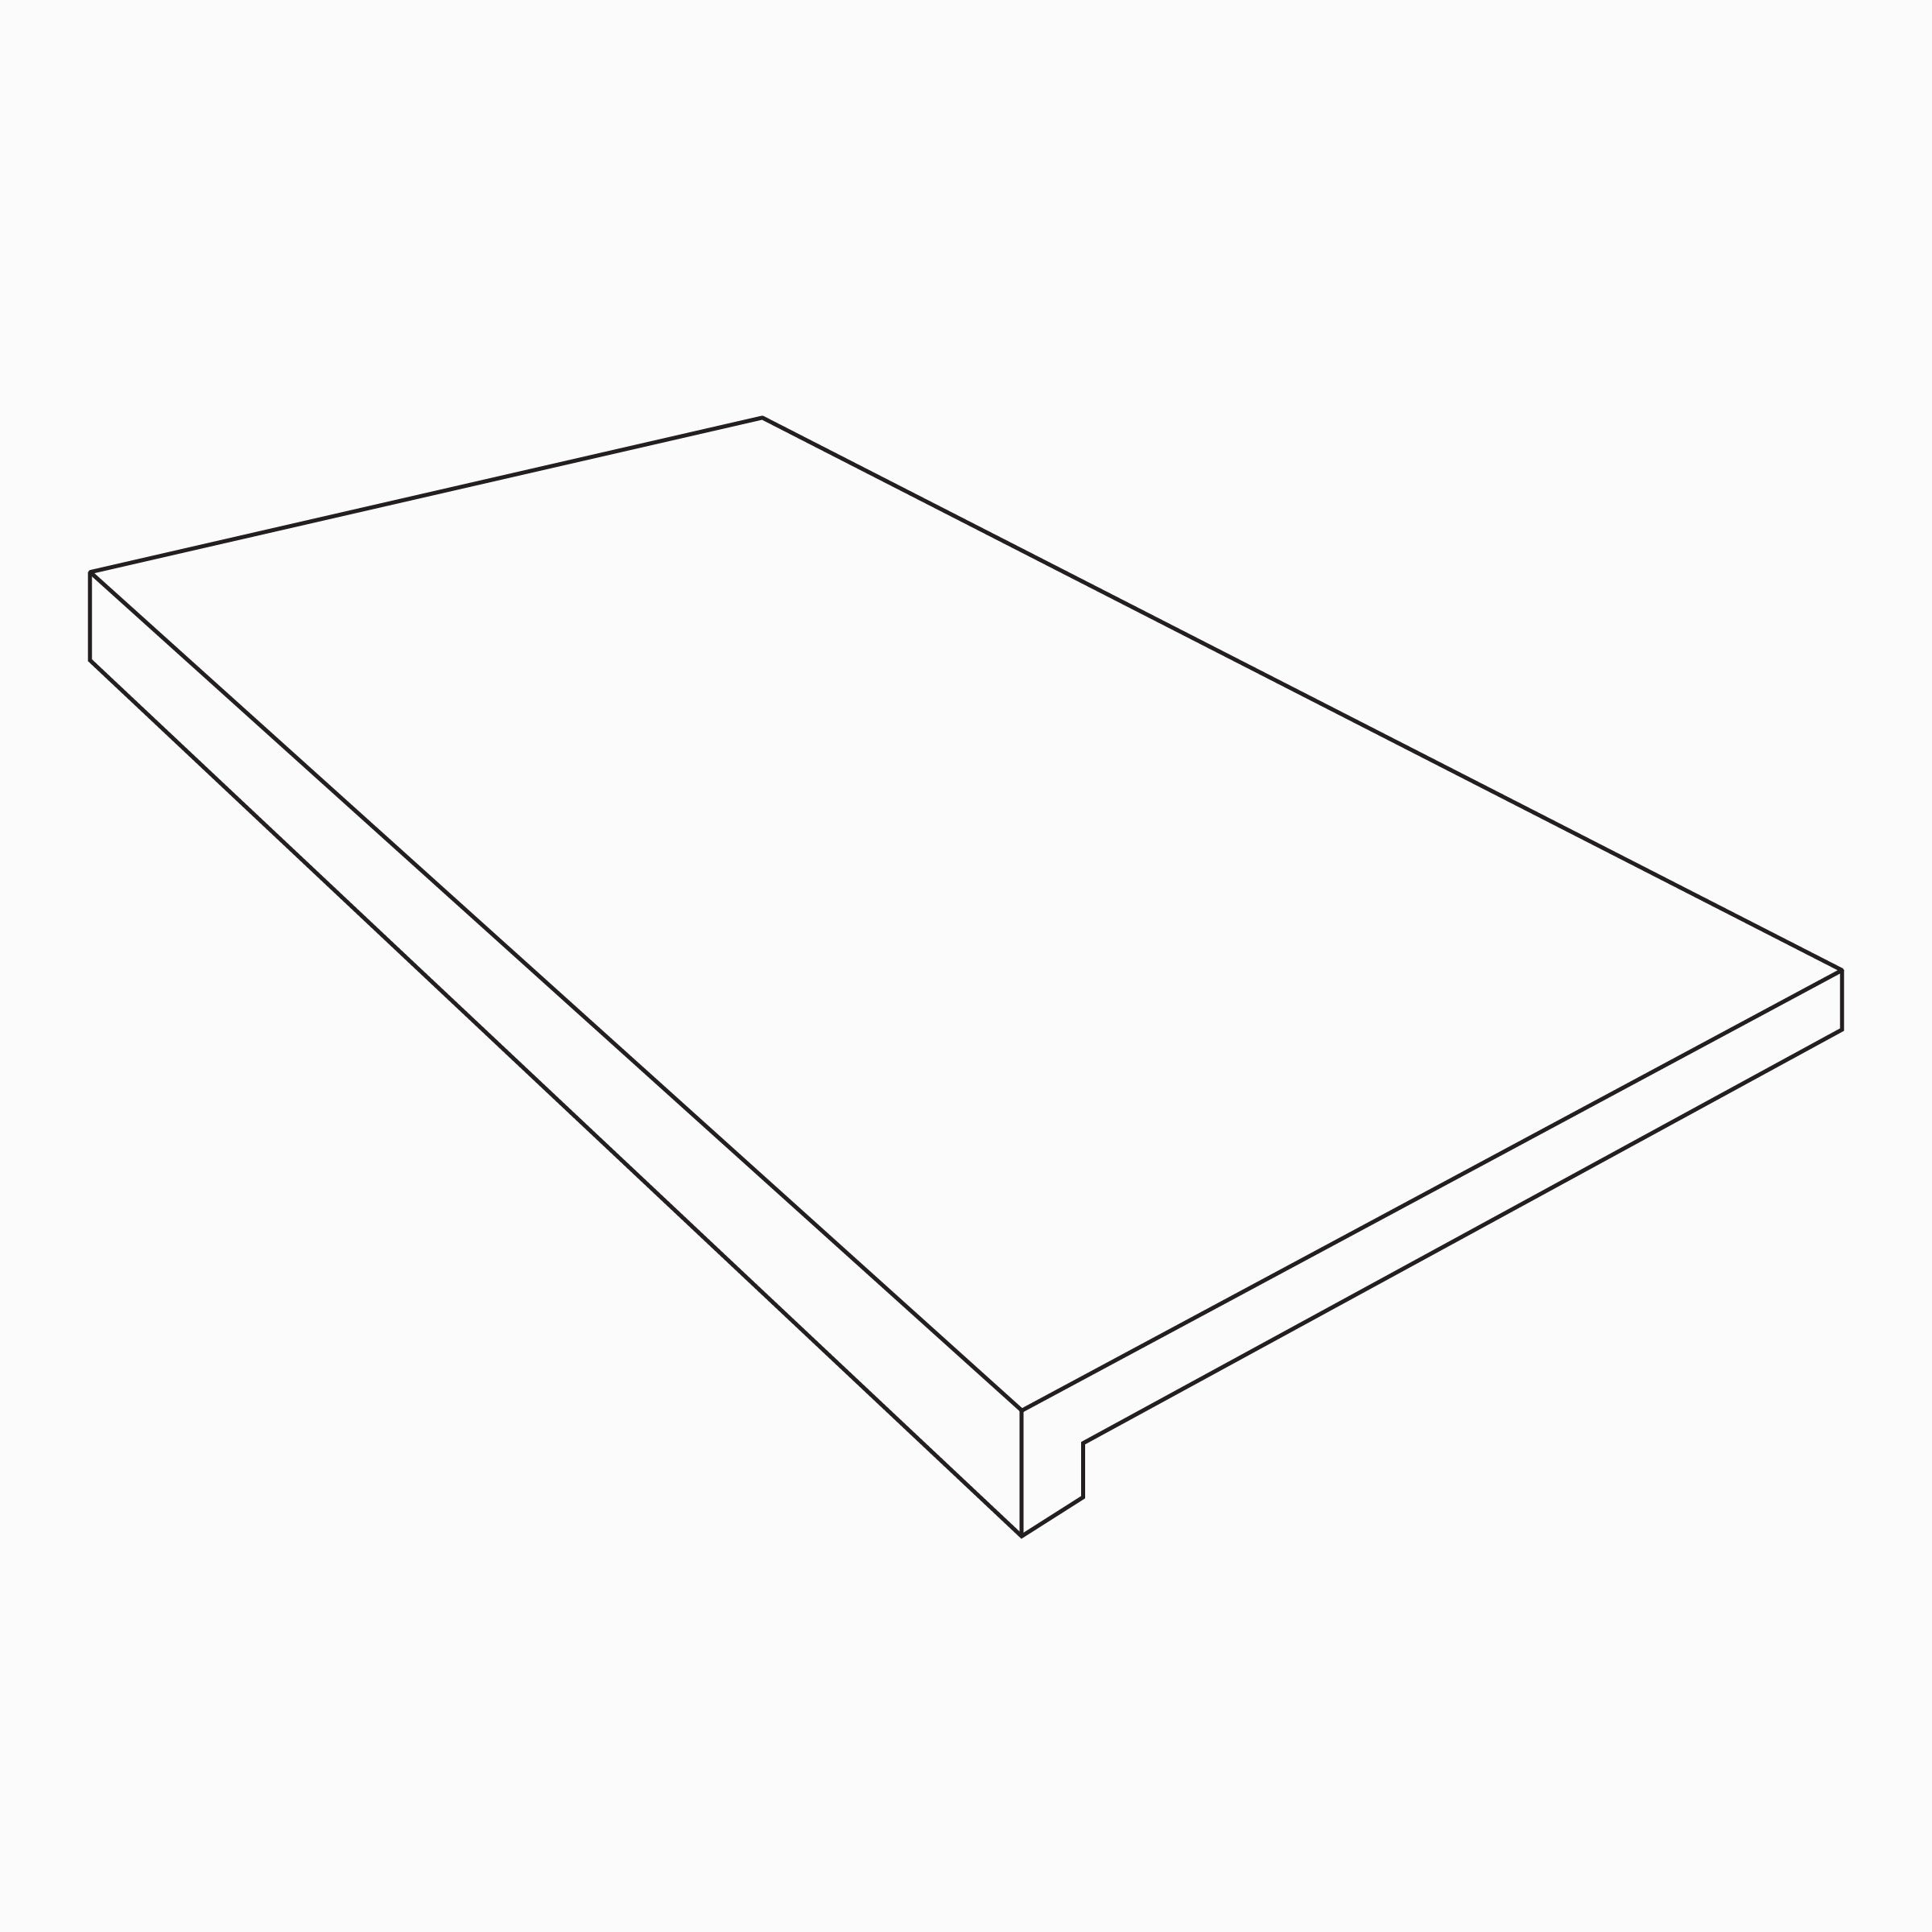
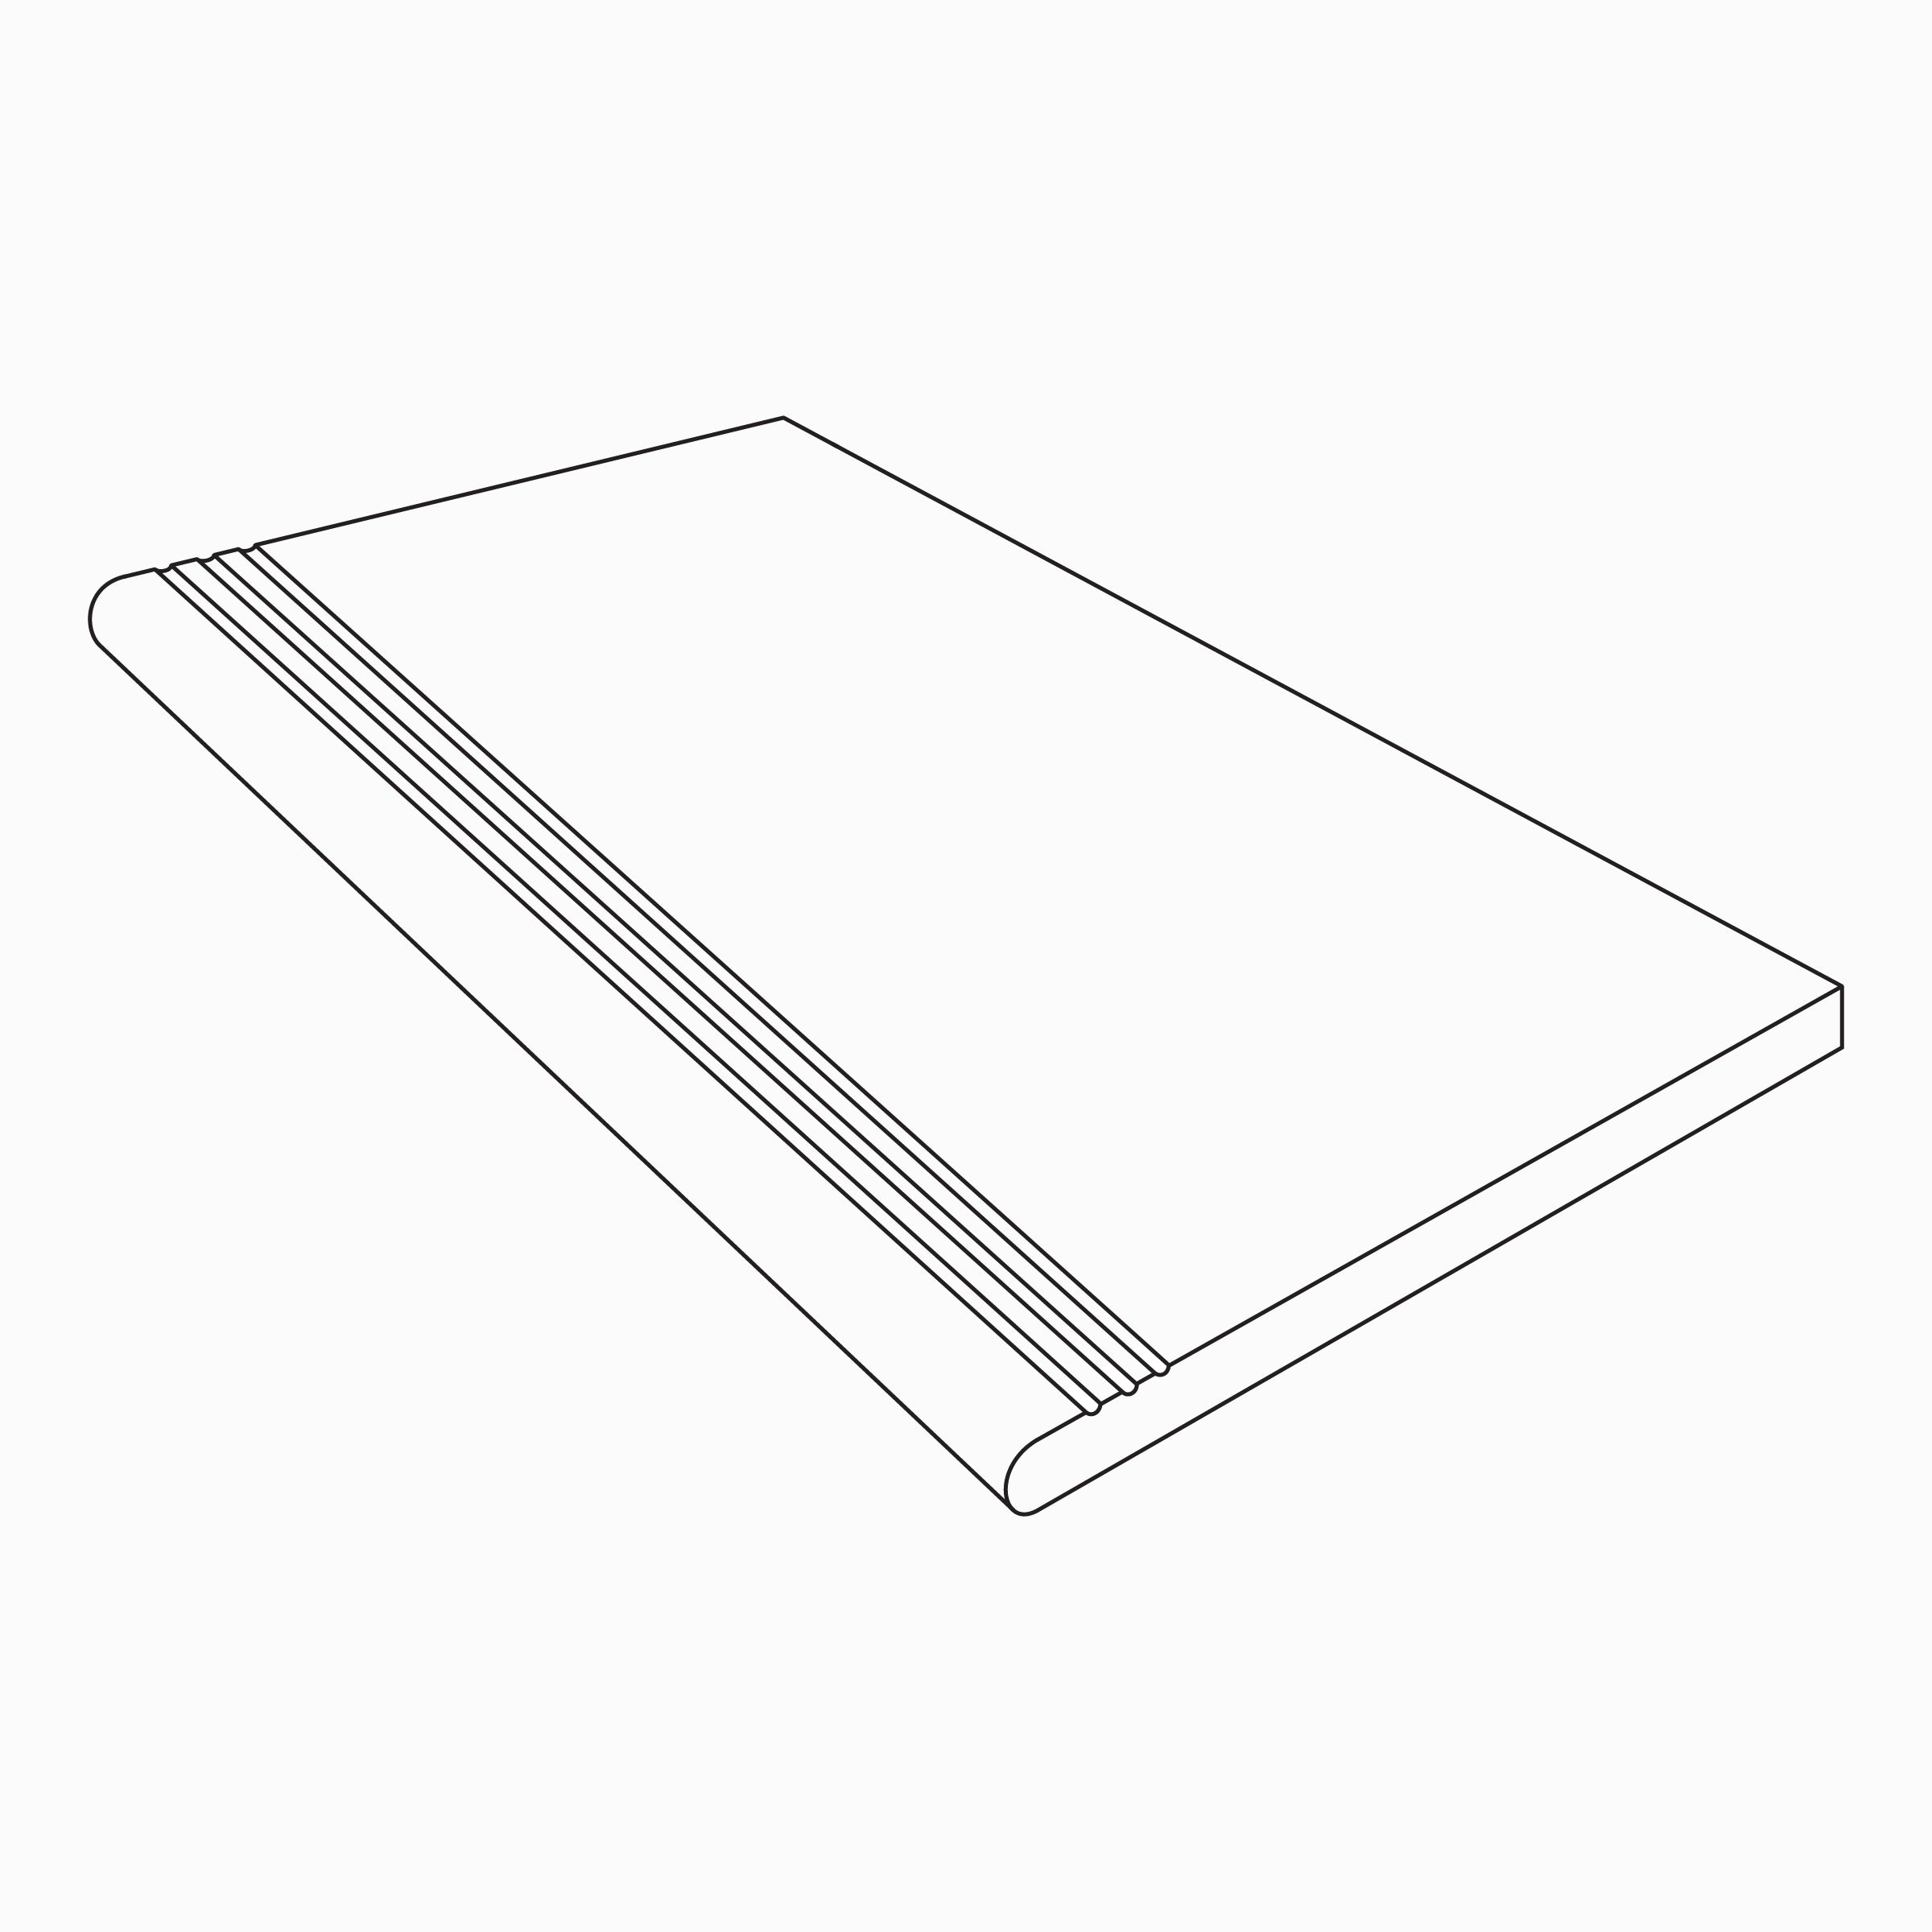
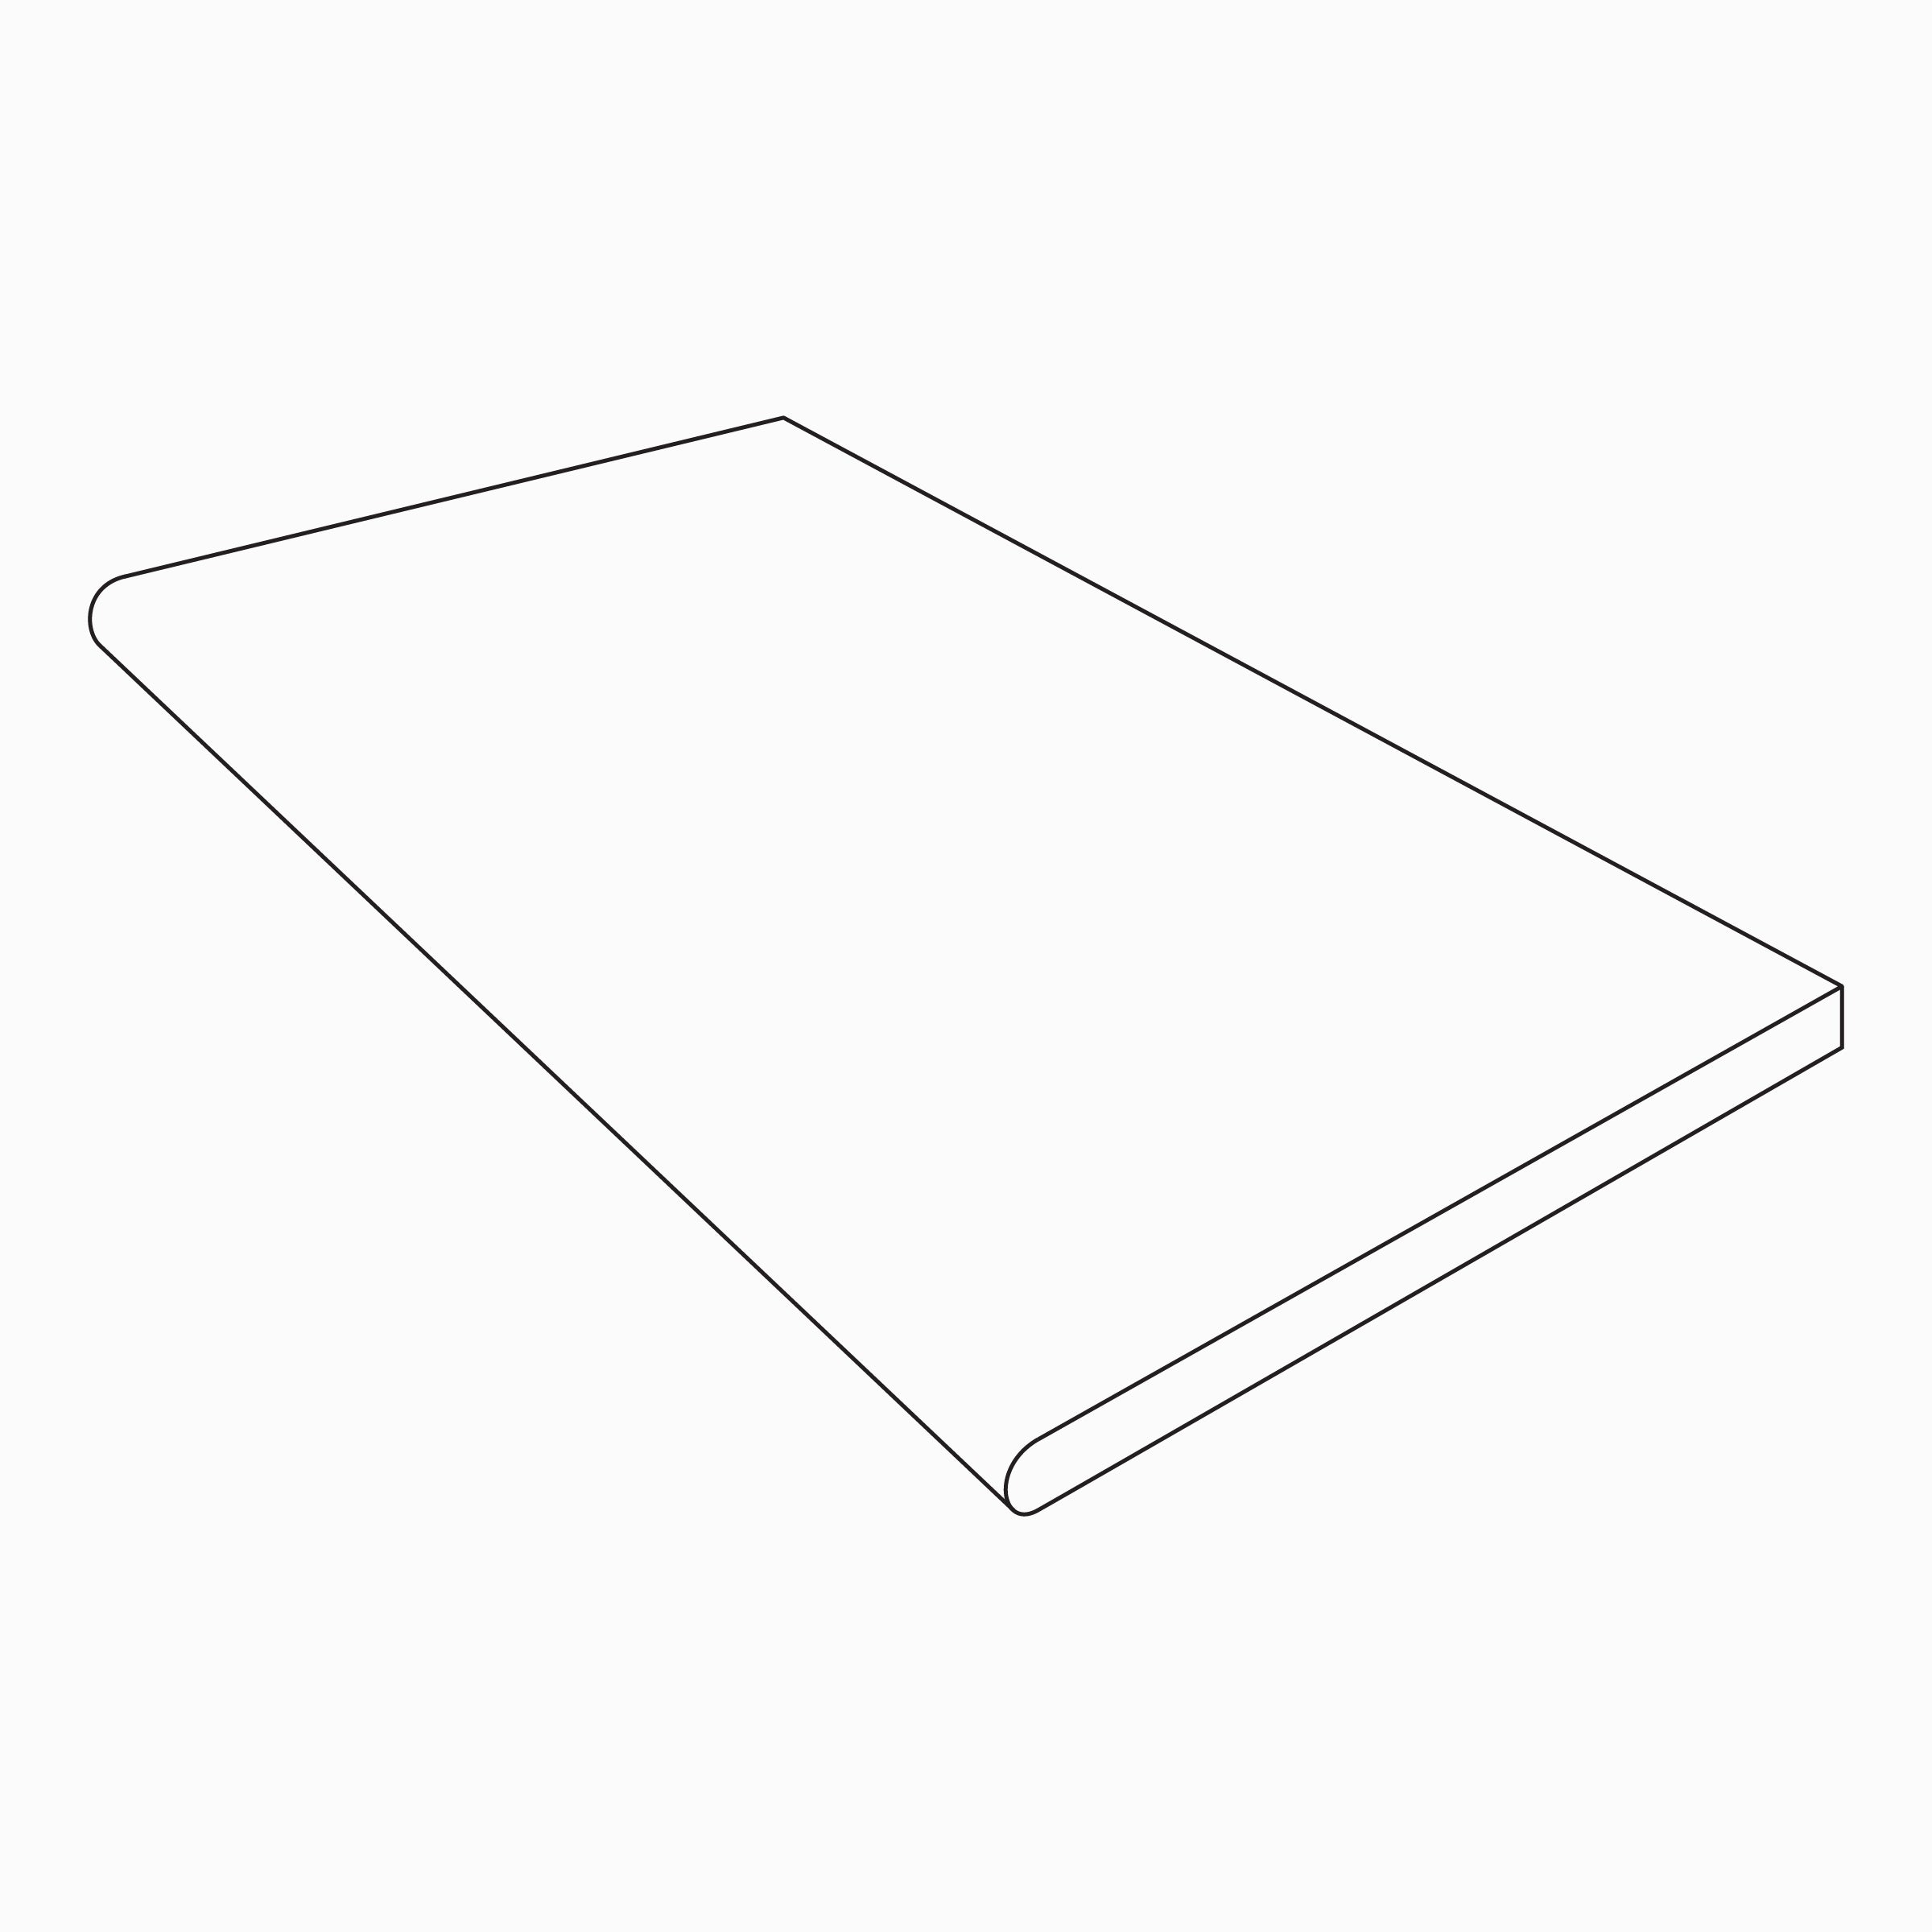
Also Available - Coping Options
L-Shaped Coping
Ease Edge Coping

Stair Tread Coping
Bullnose Coping
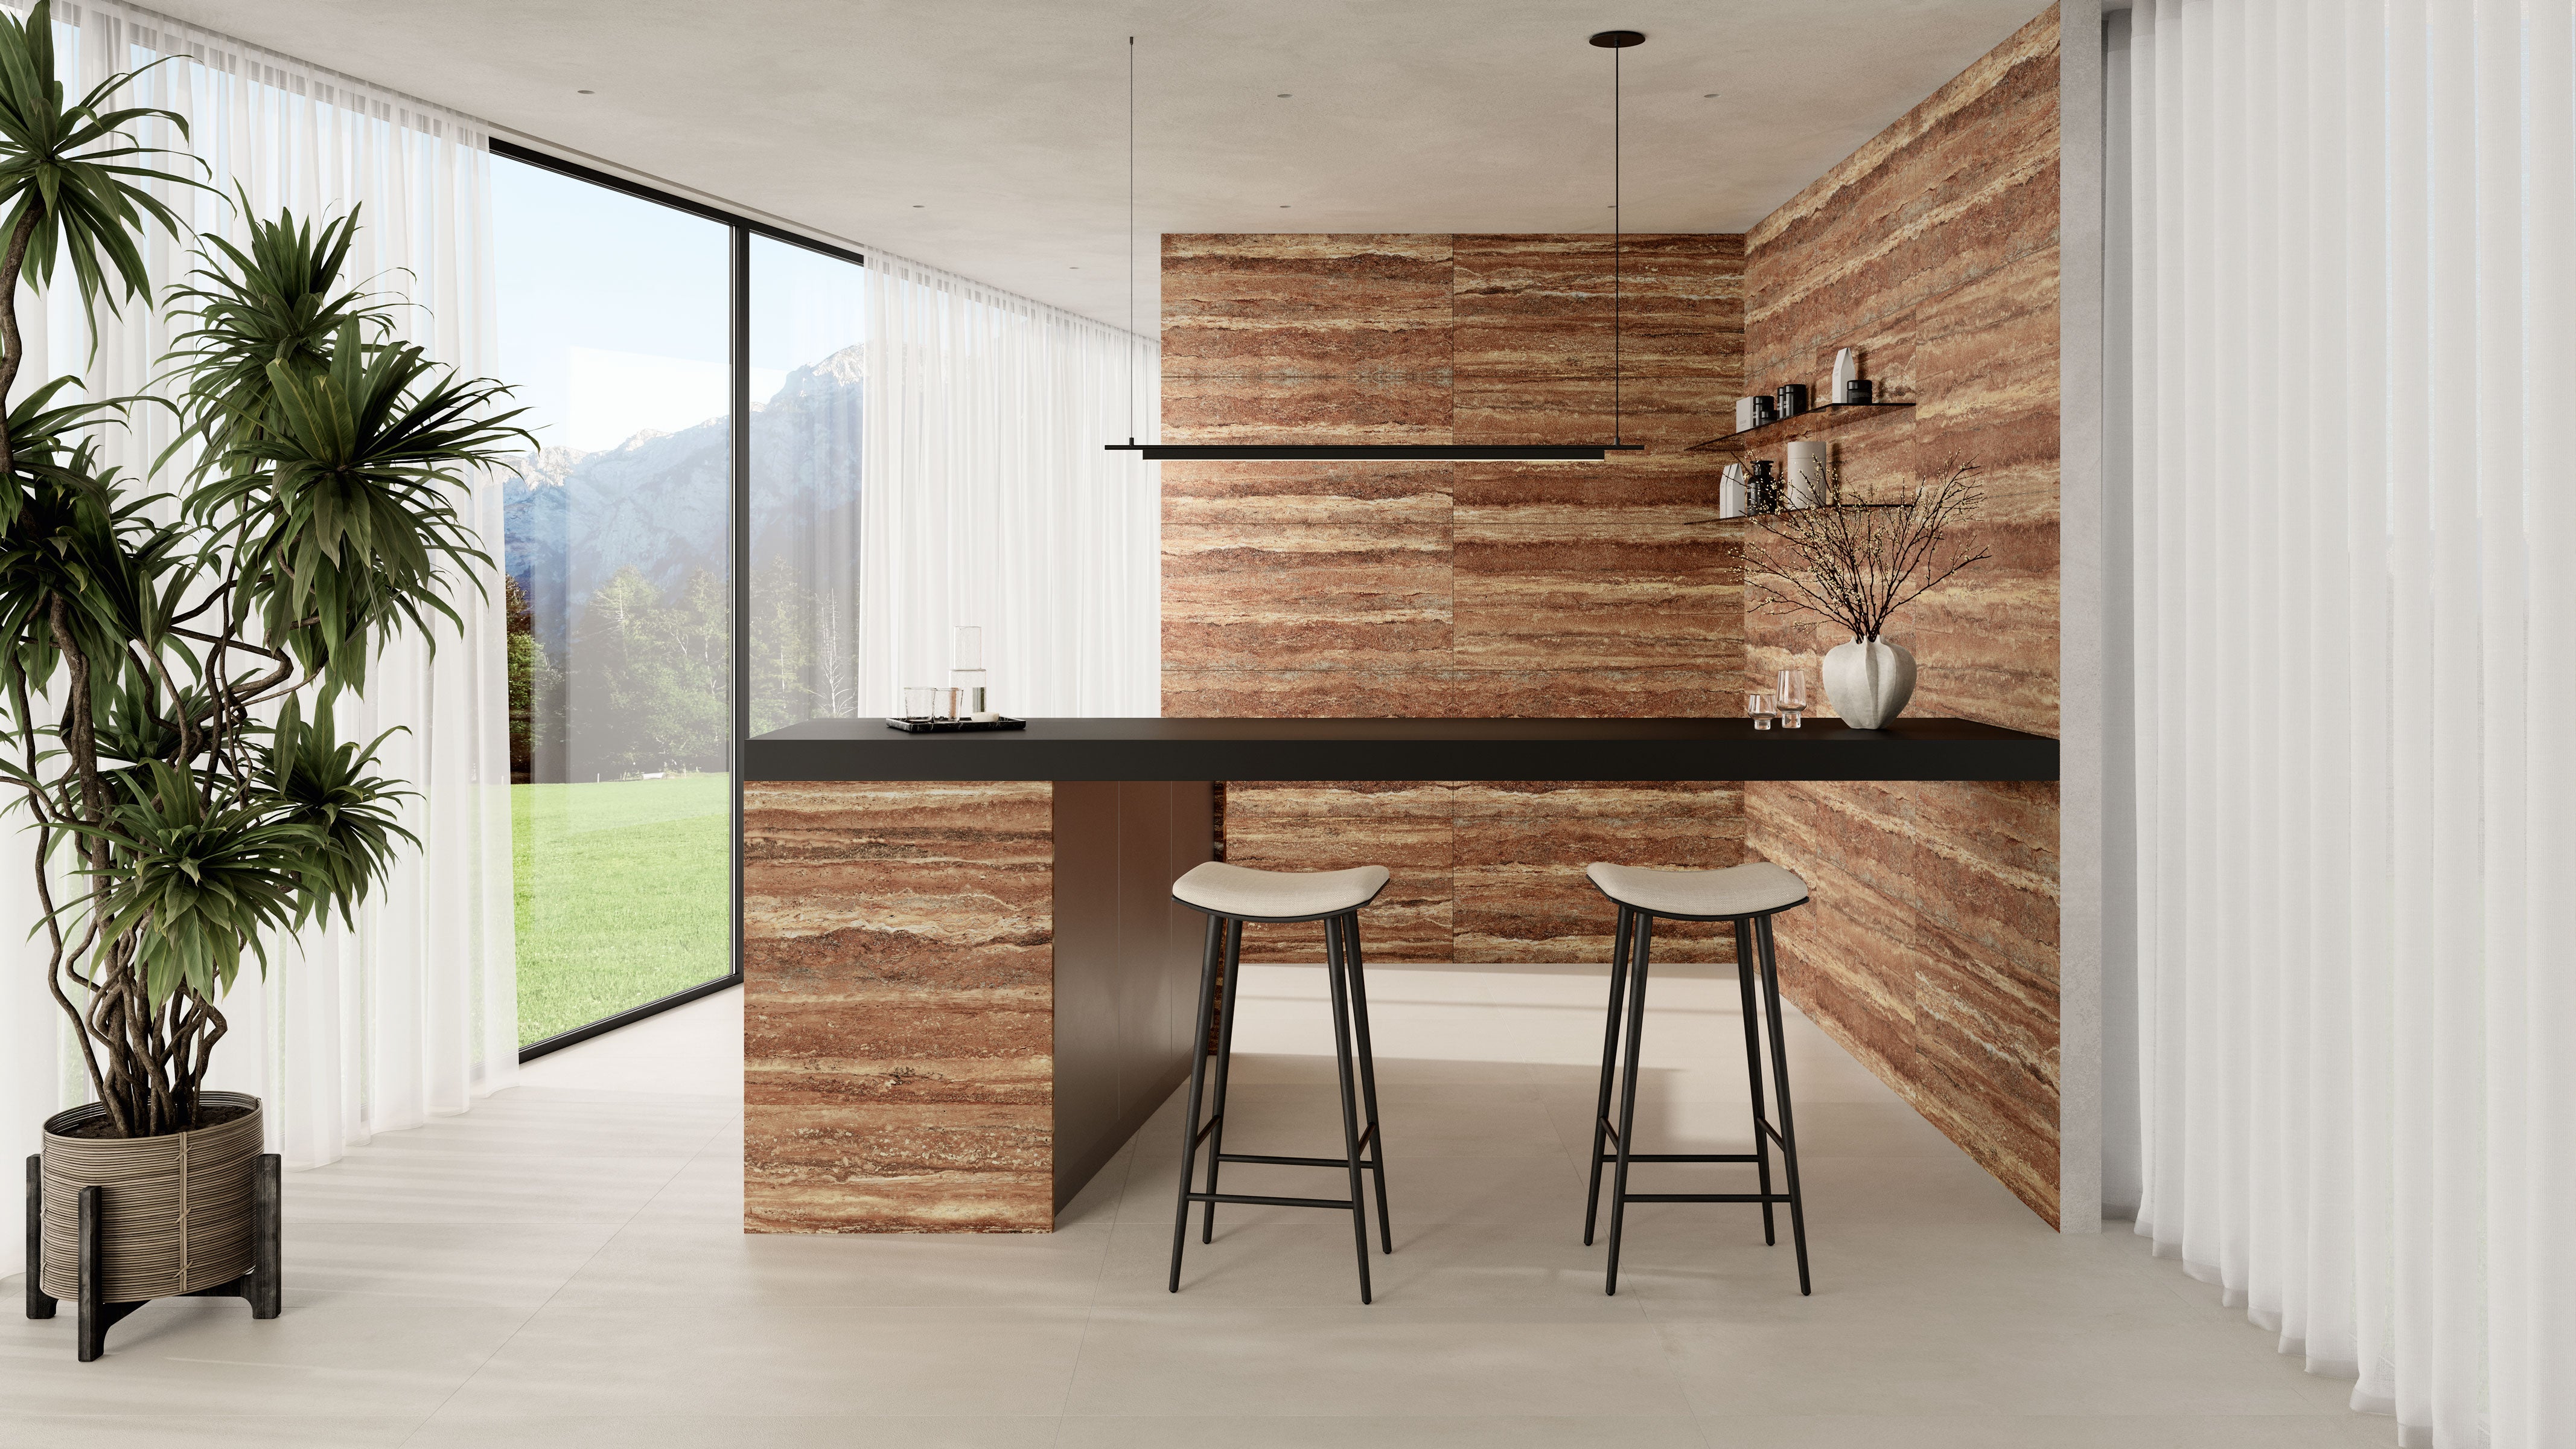
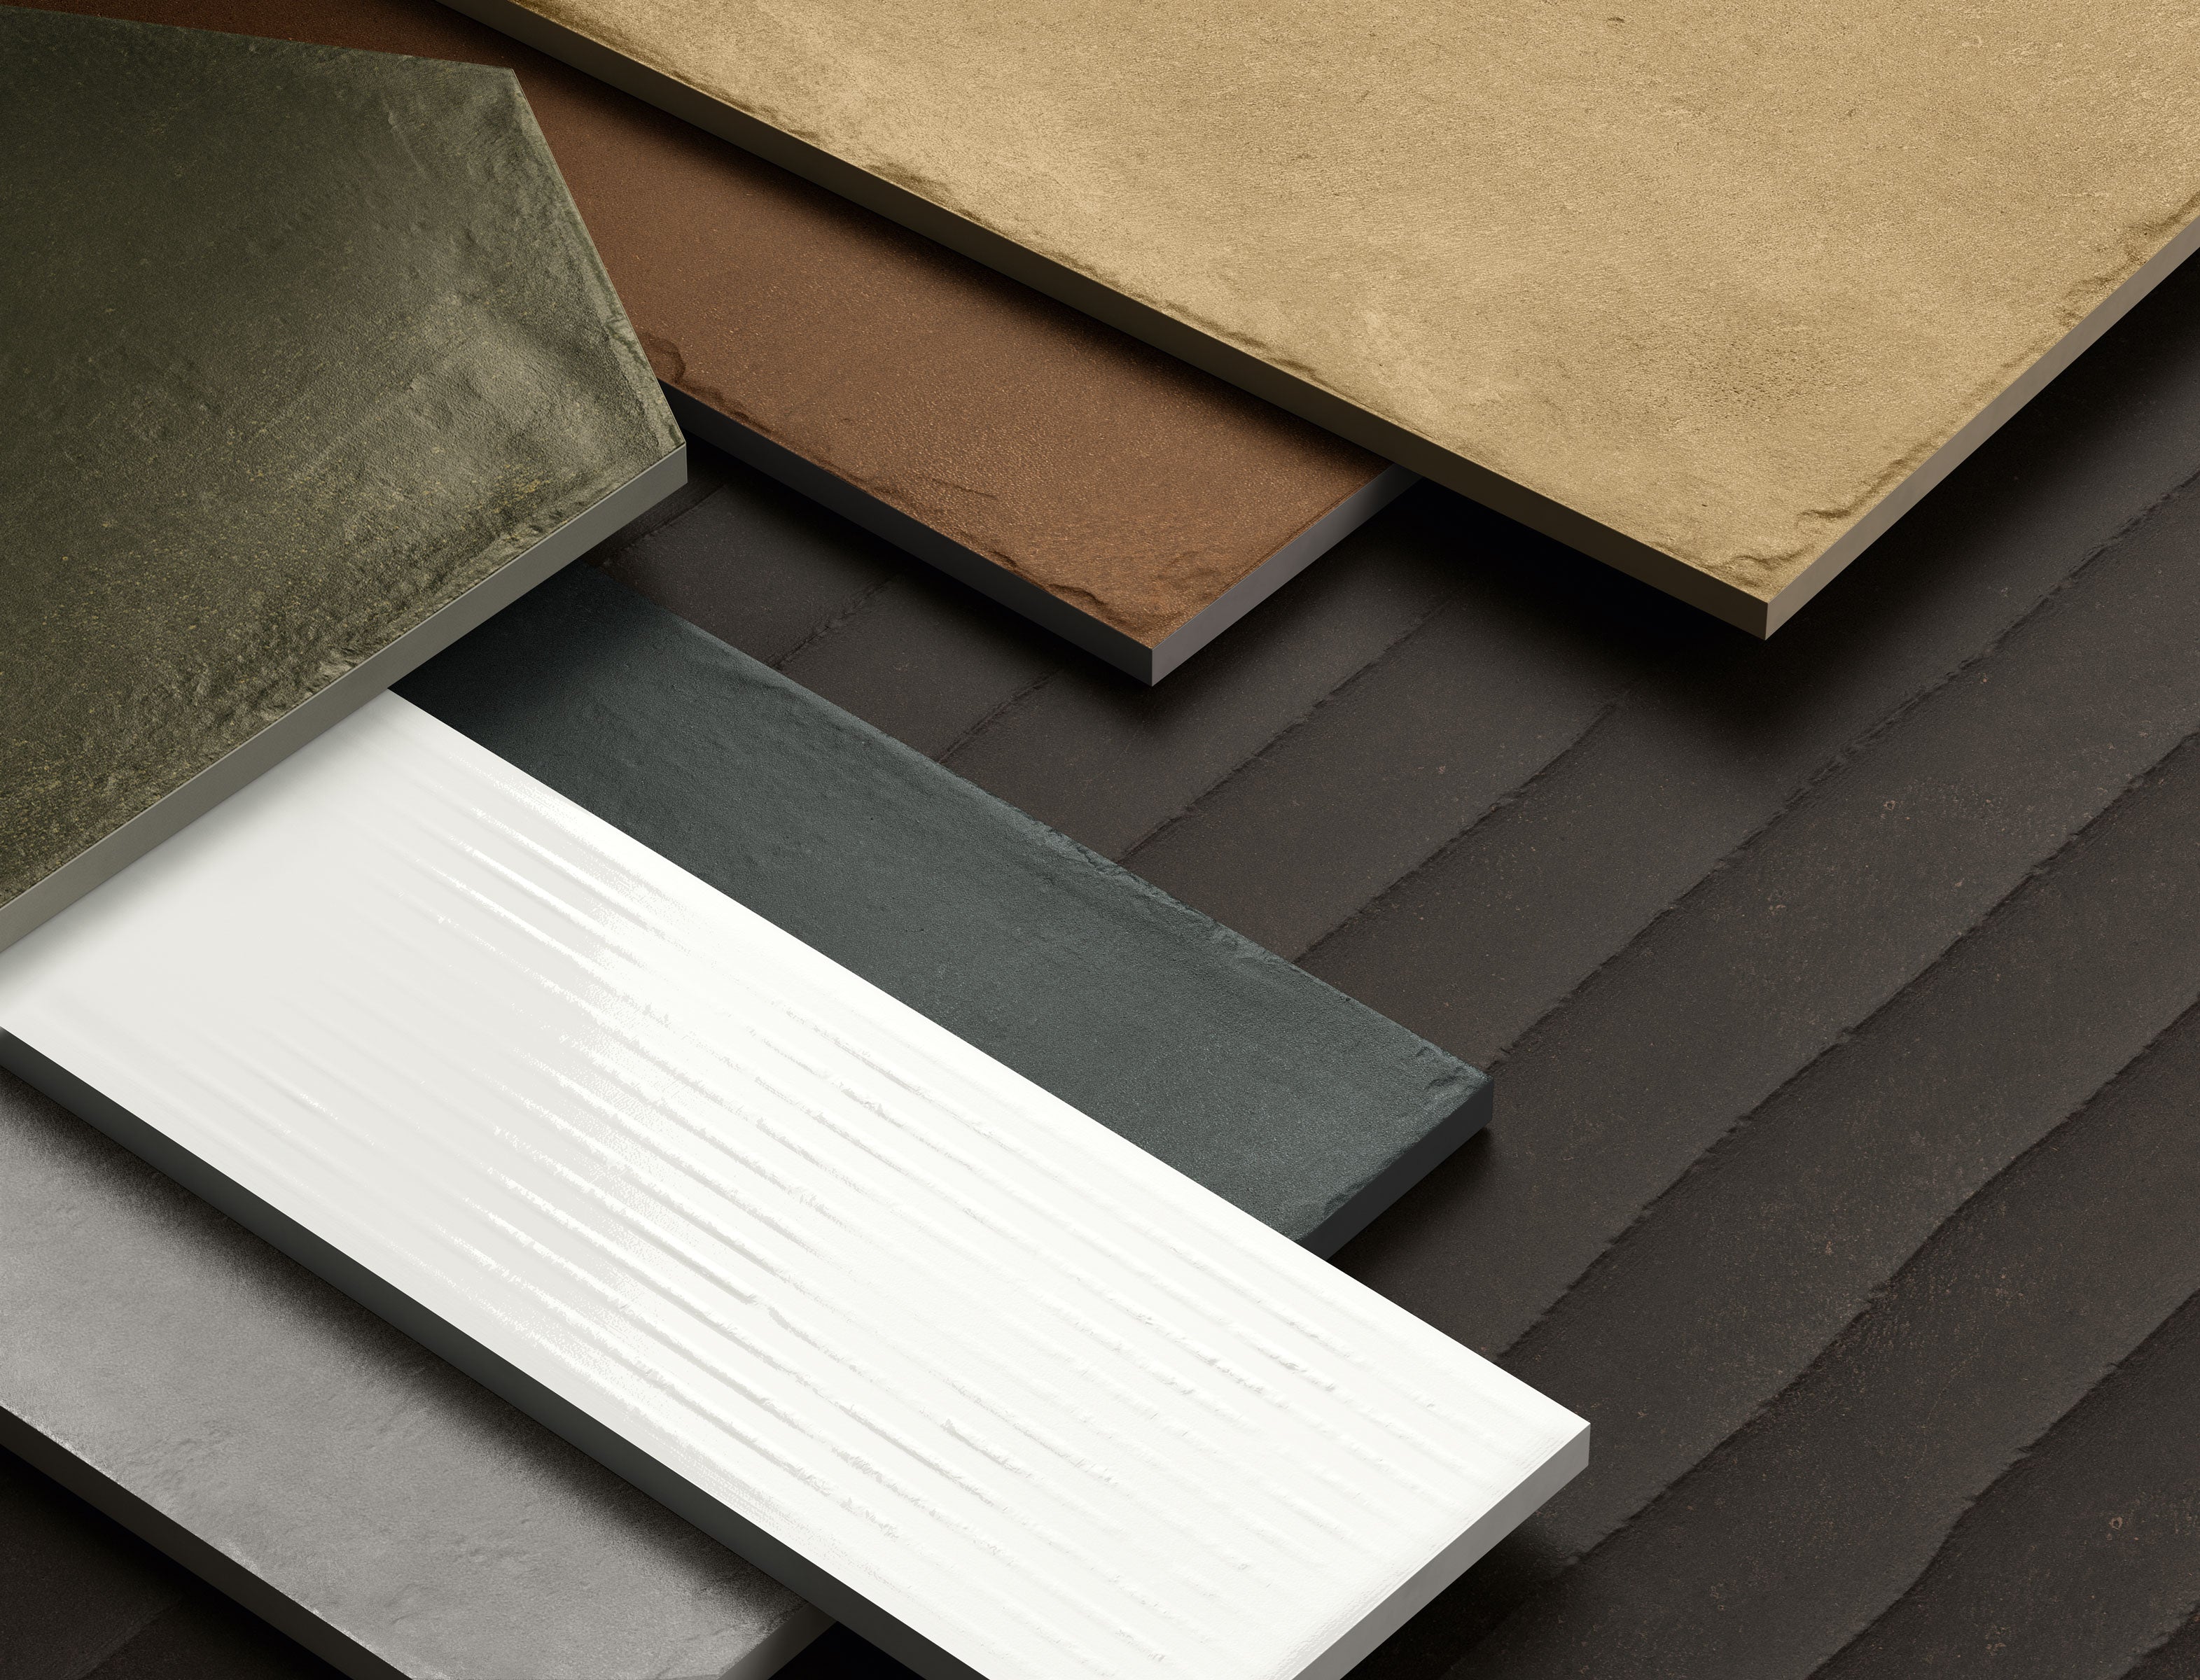
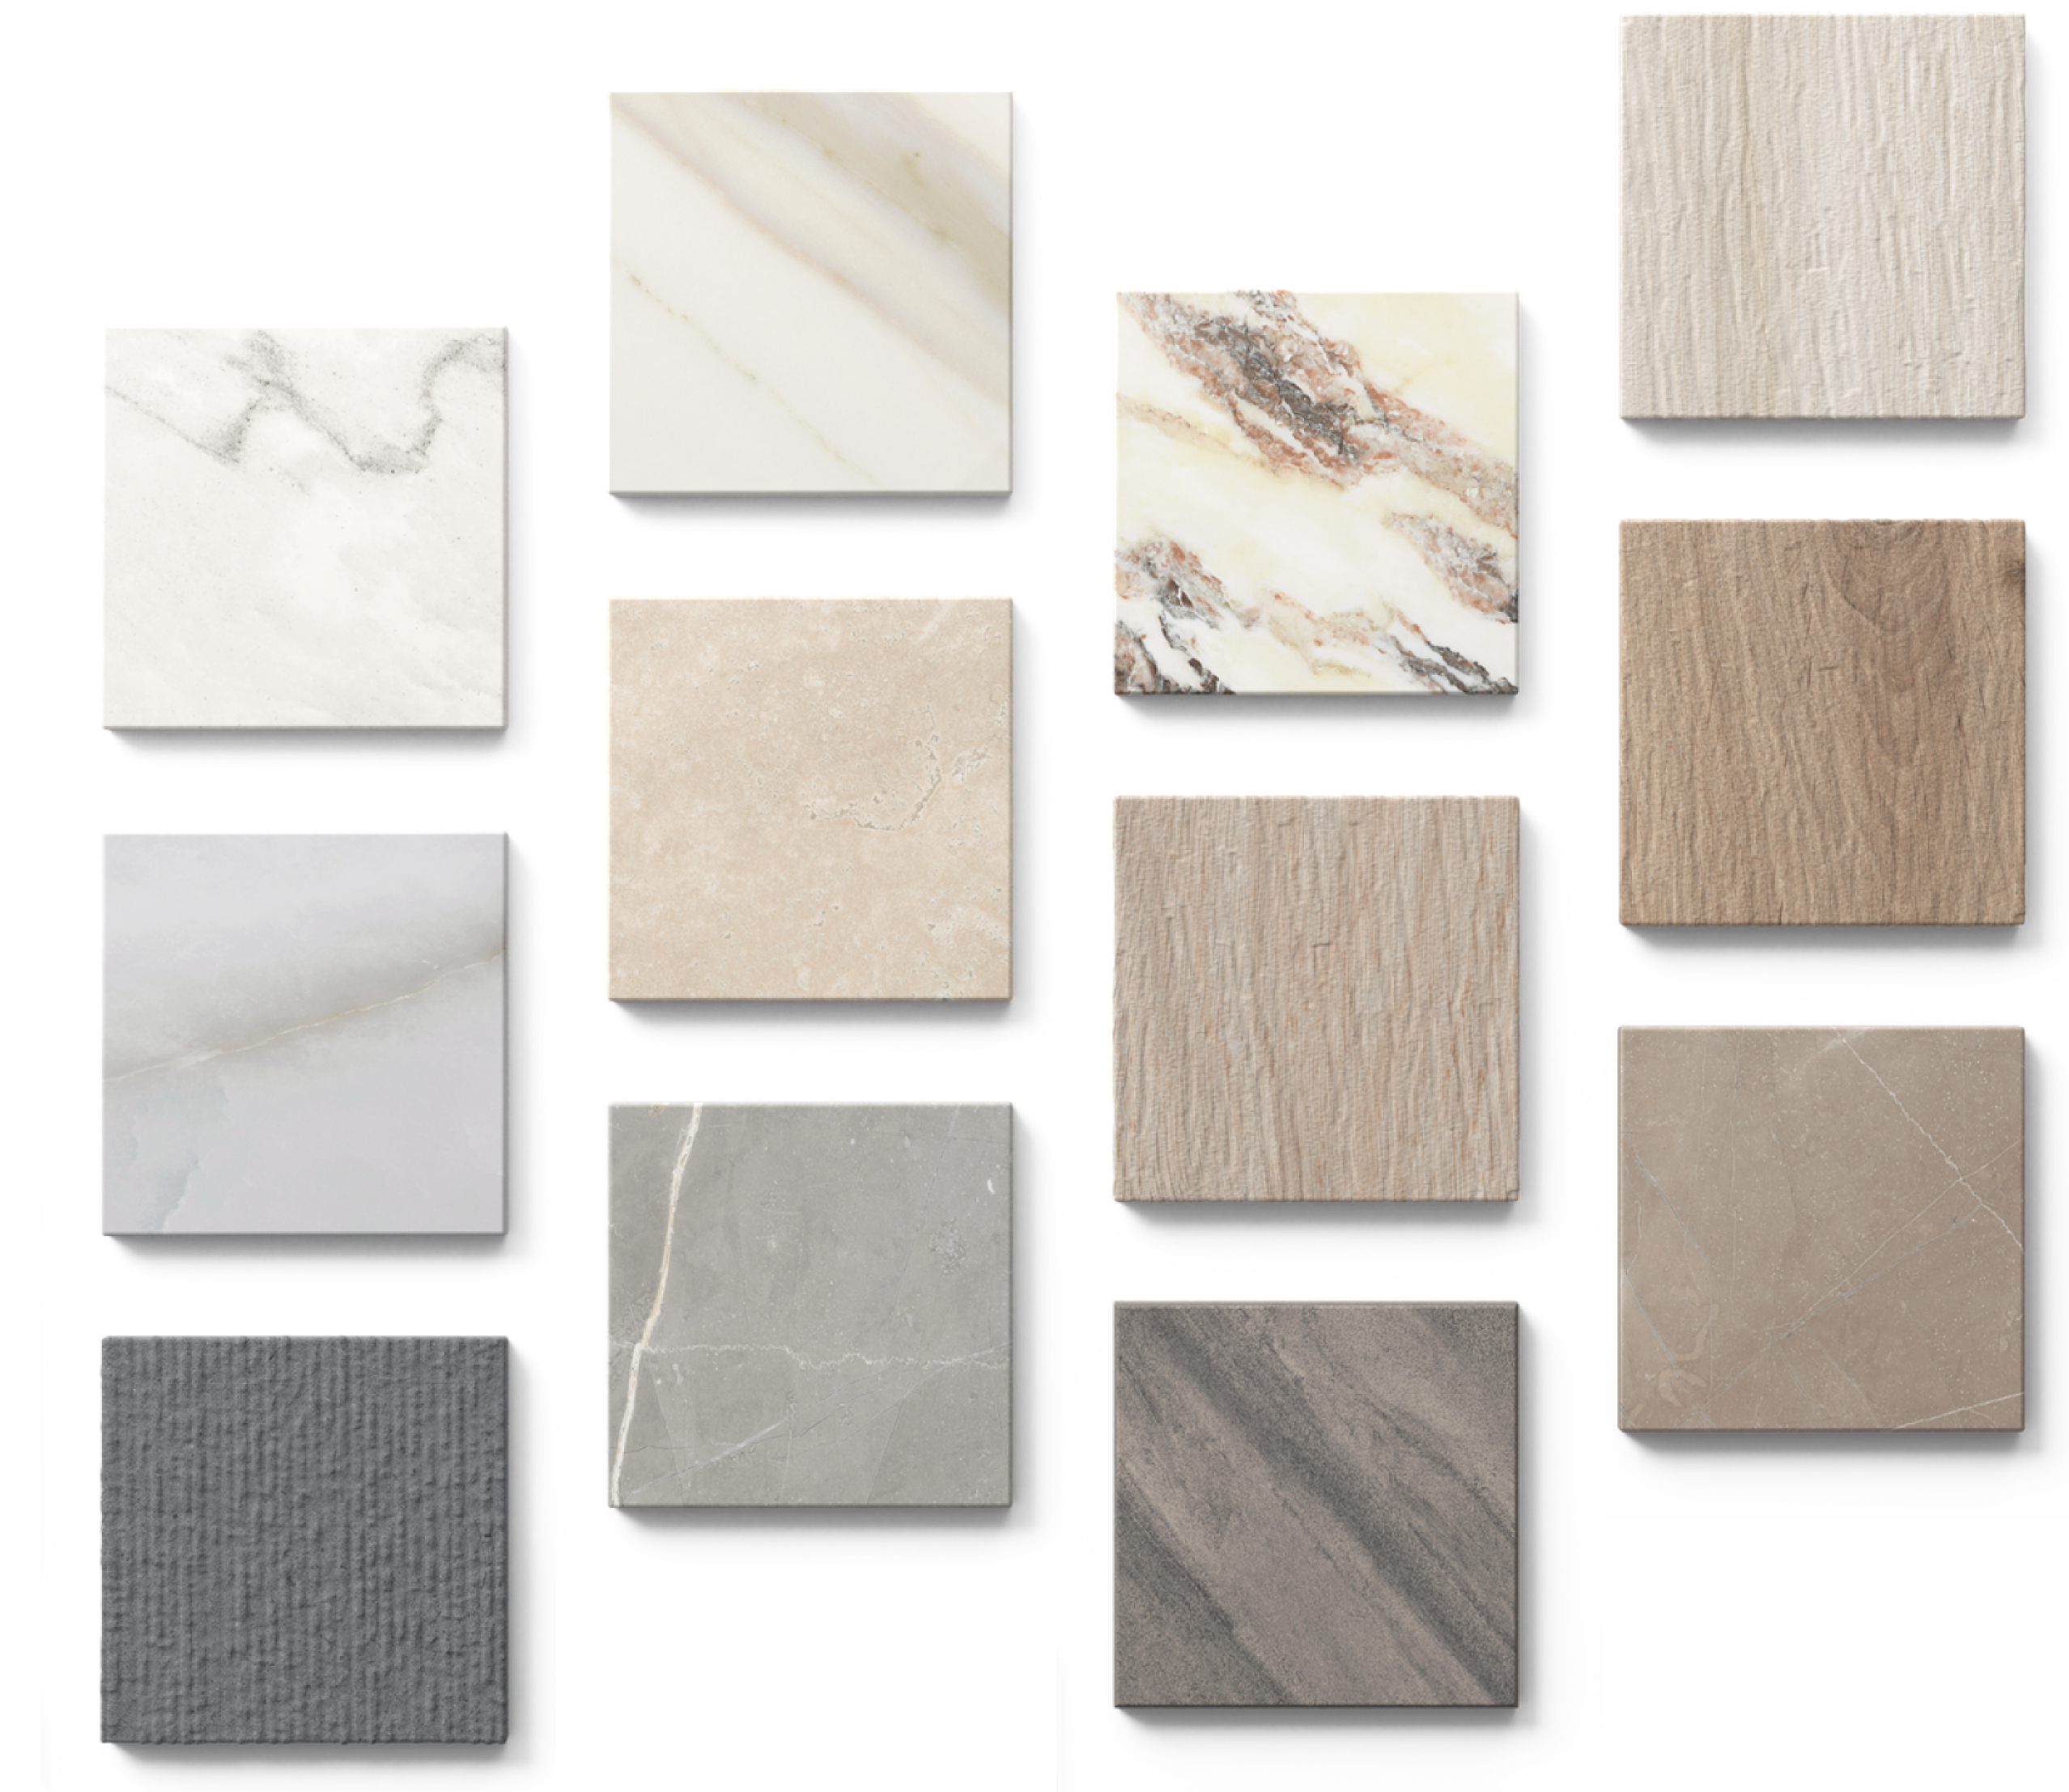
Travertine

Earthen

+ One

Area 51
Farmhouse Living

imprint

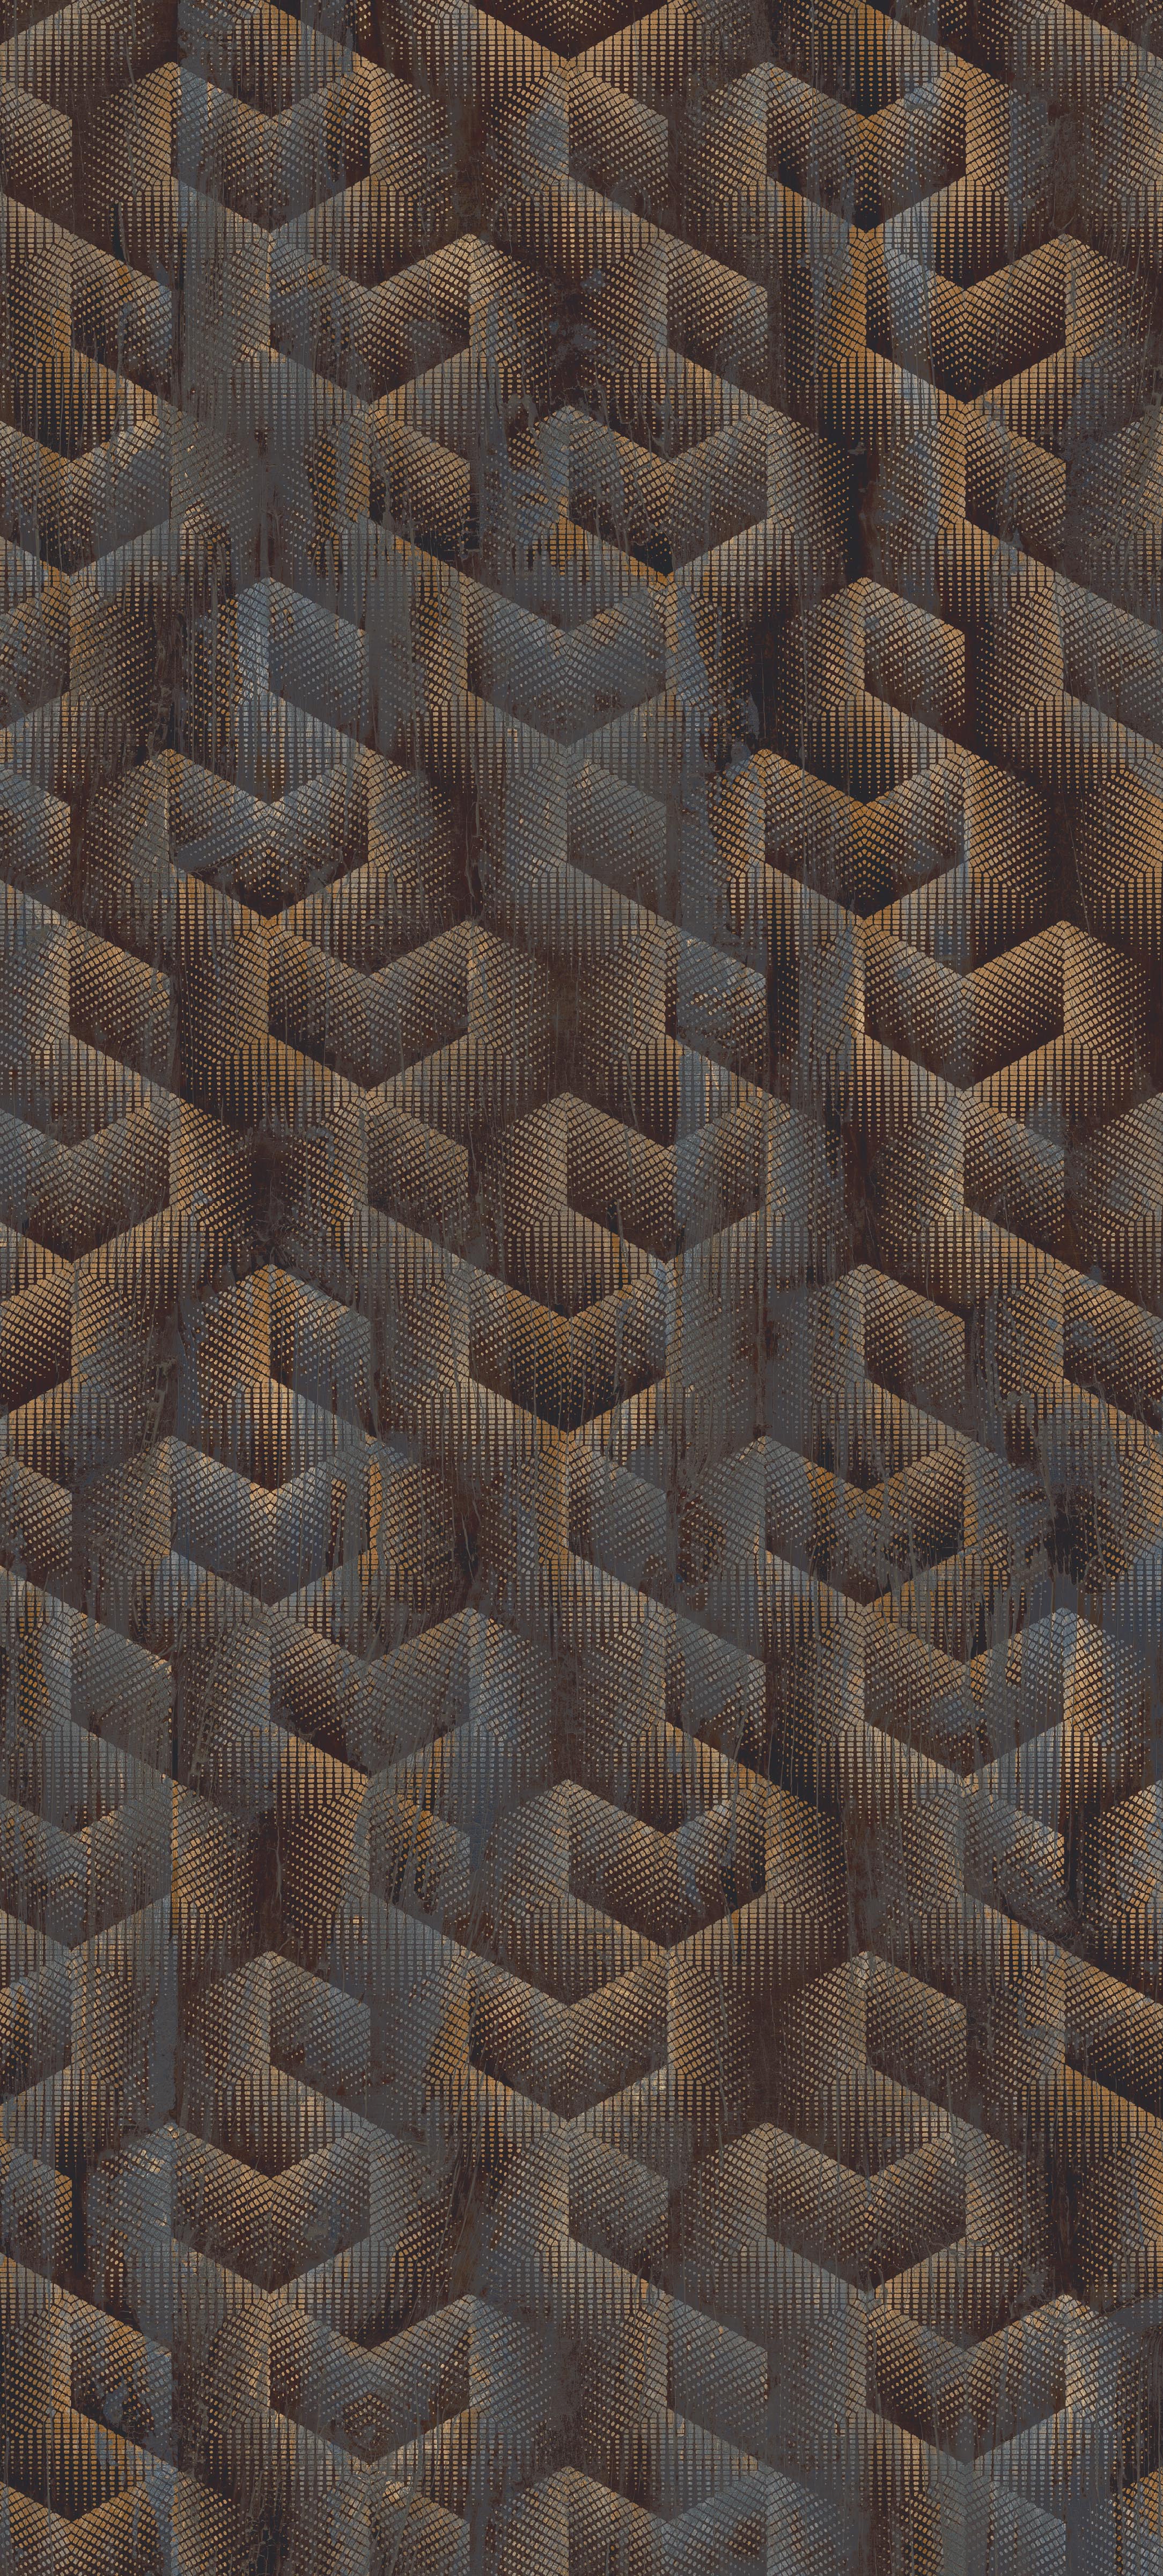
Lith

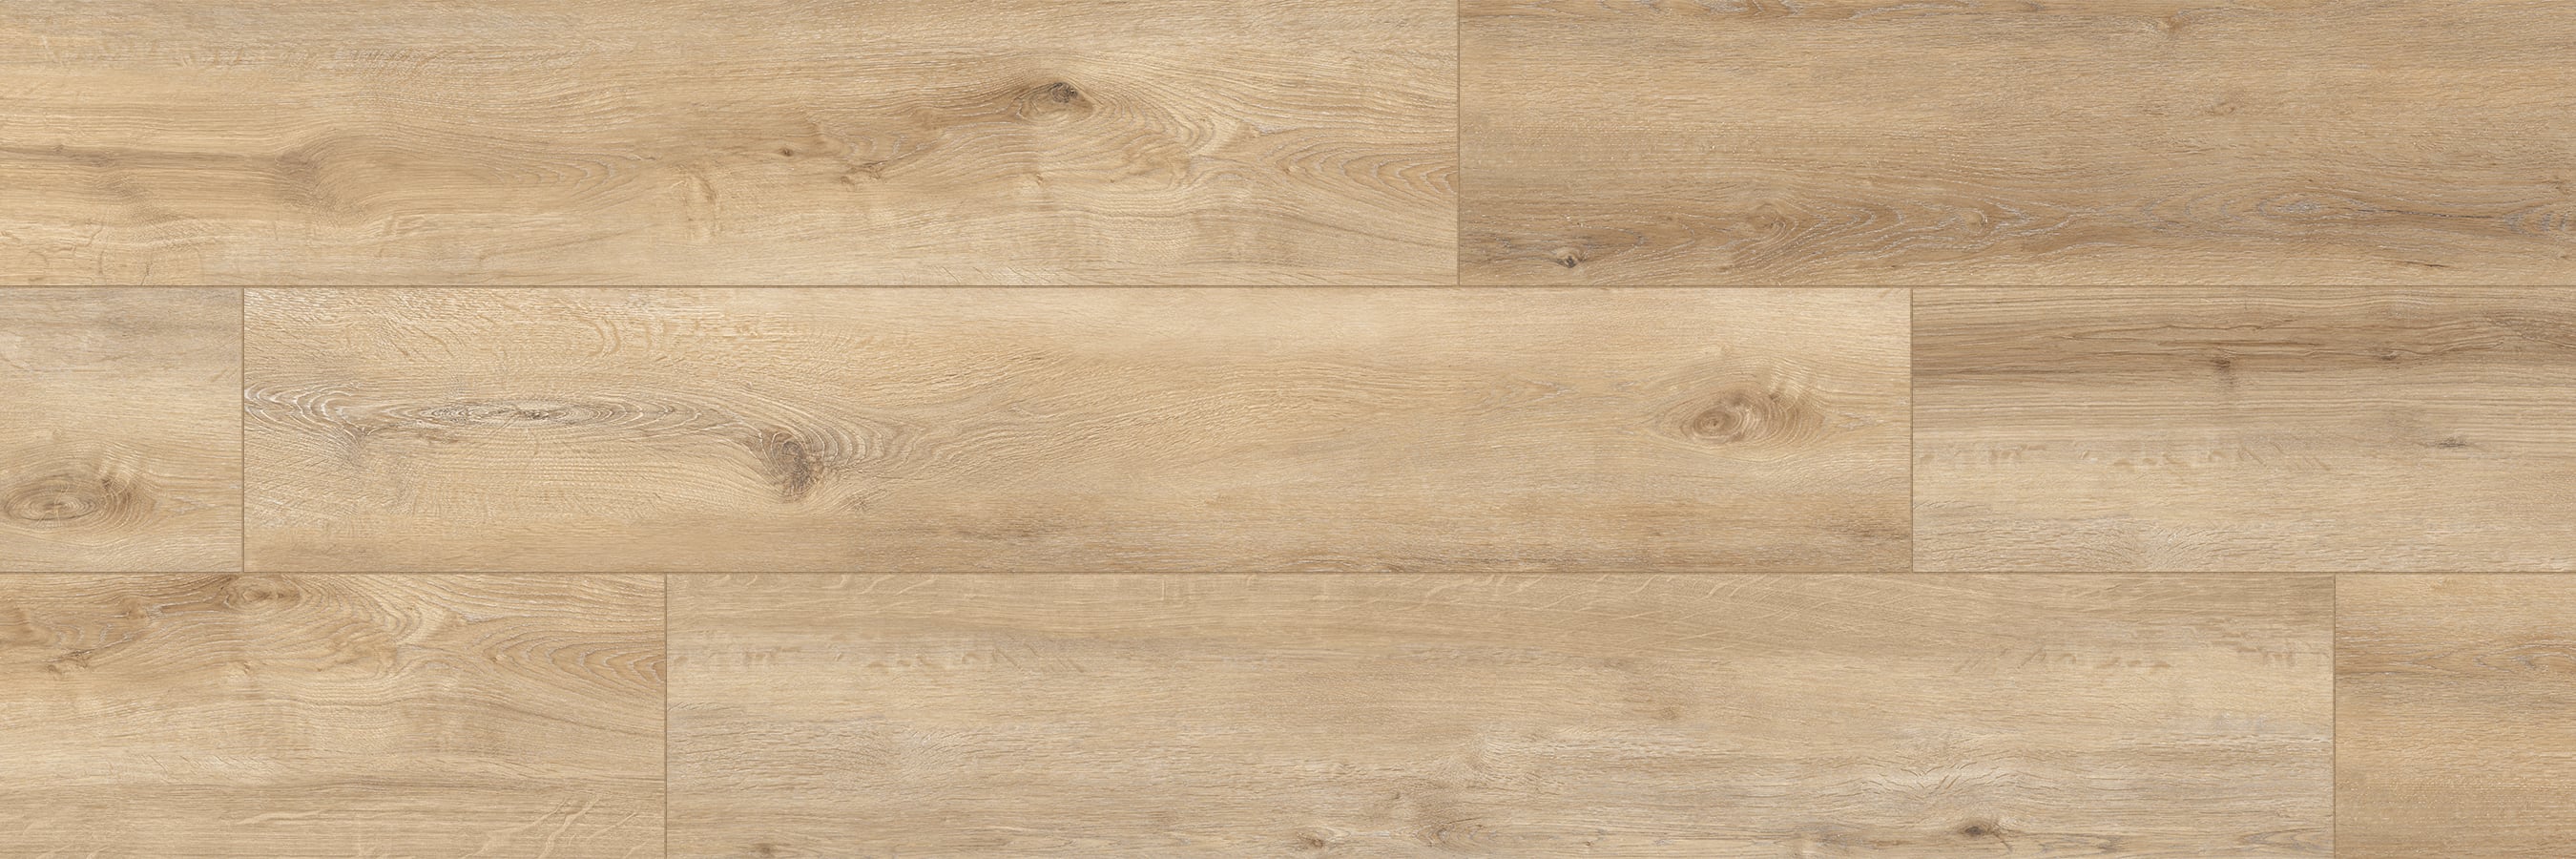
Mood Wood

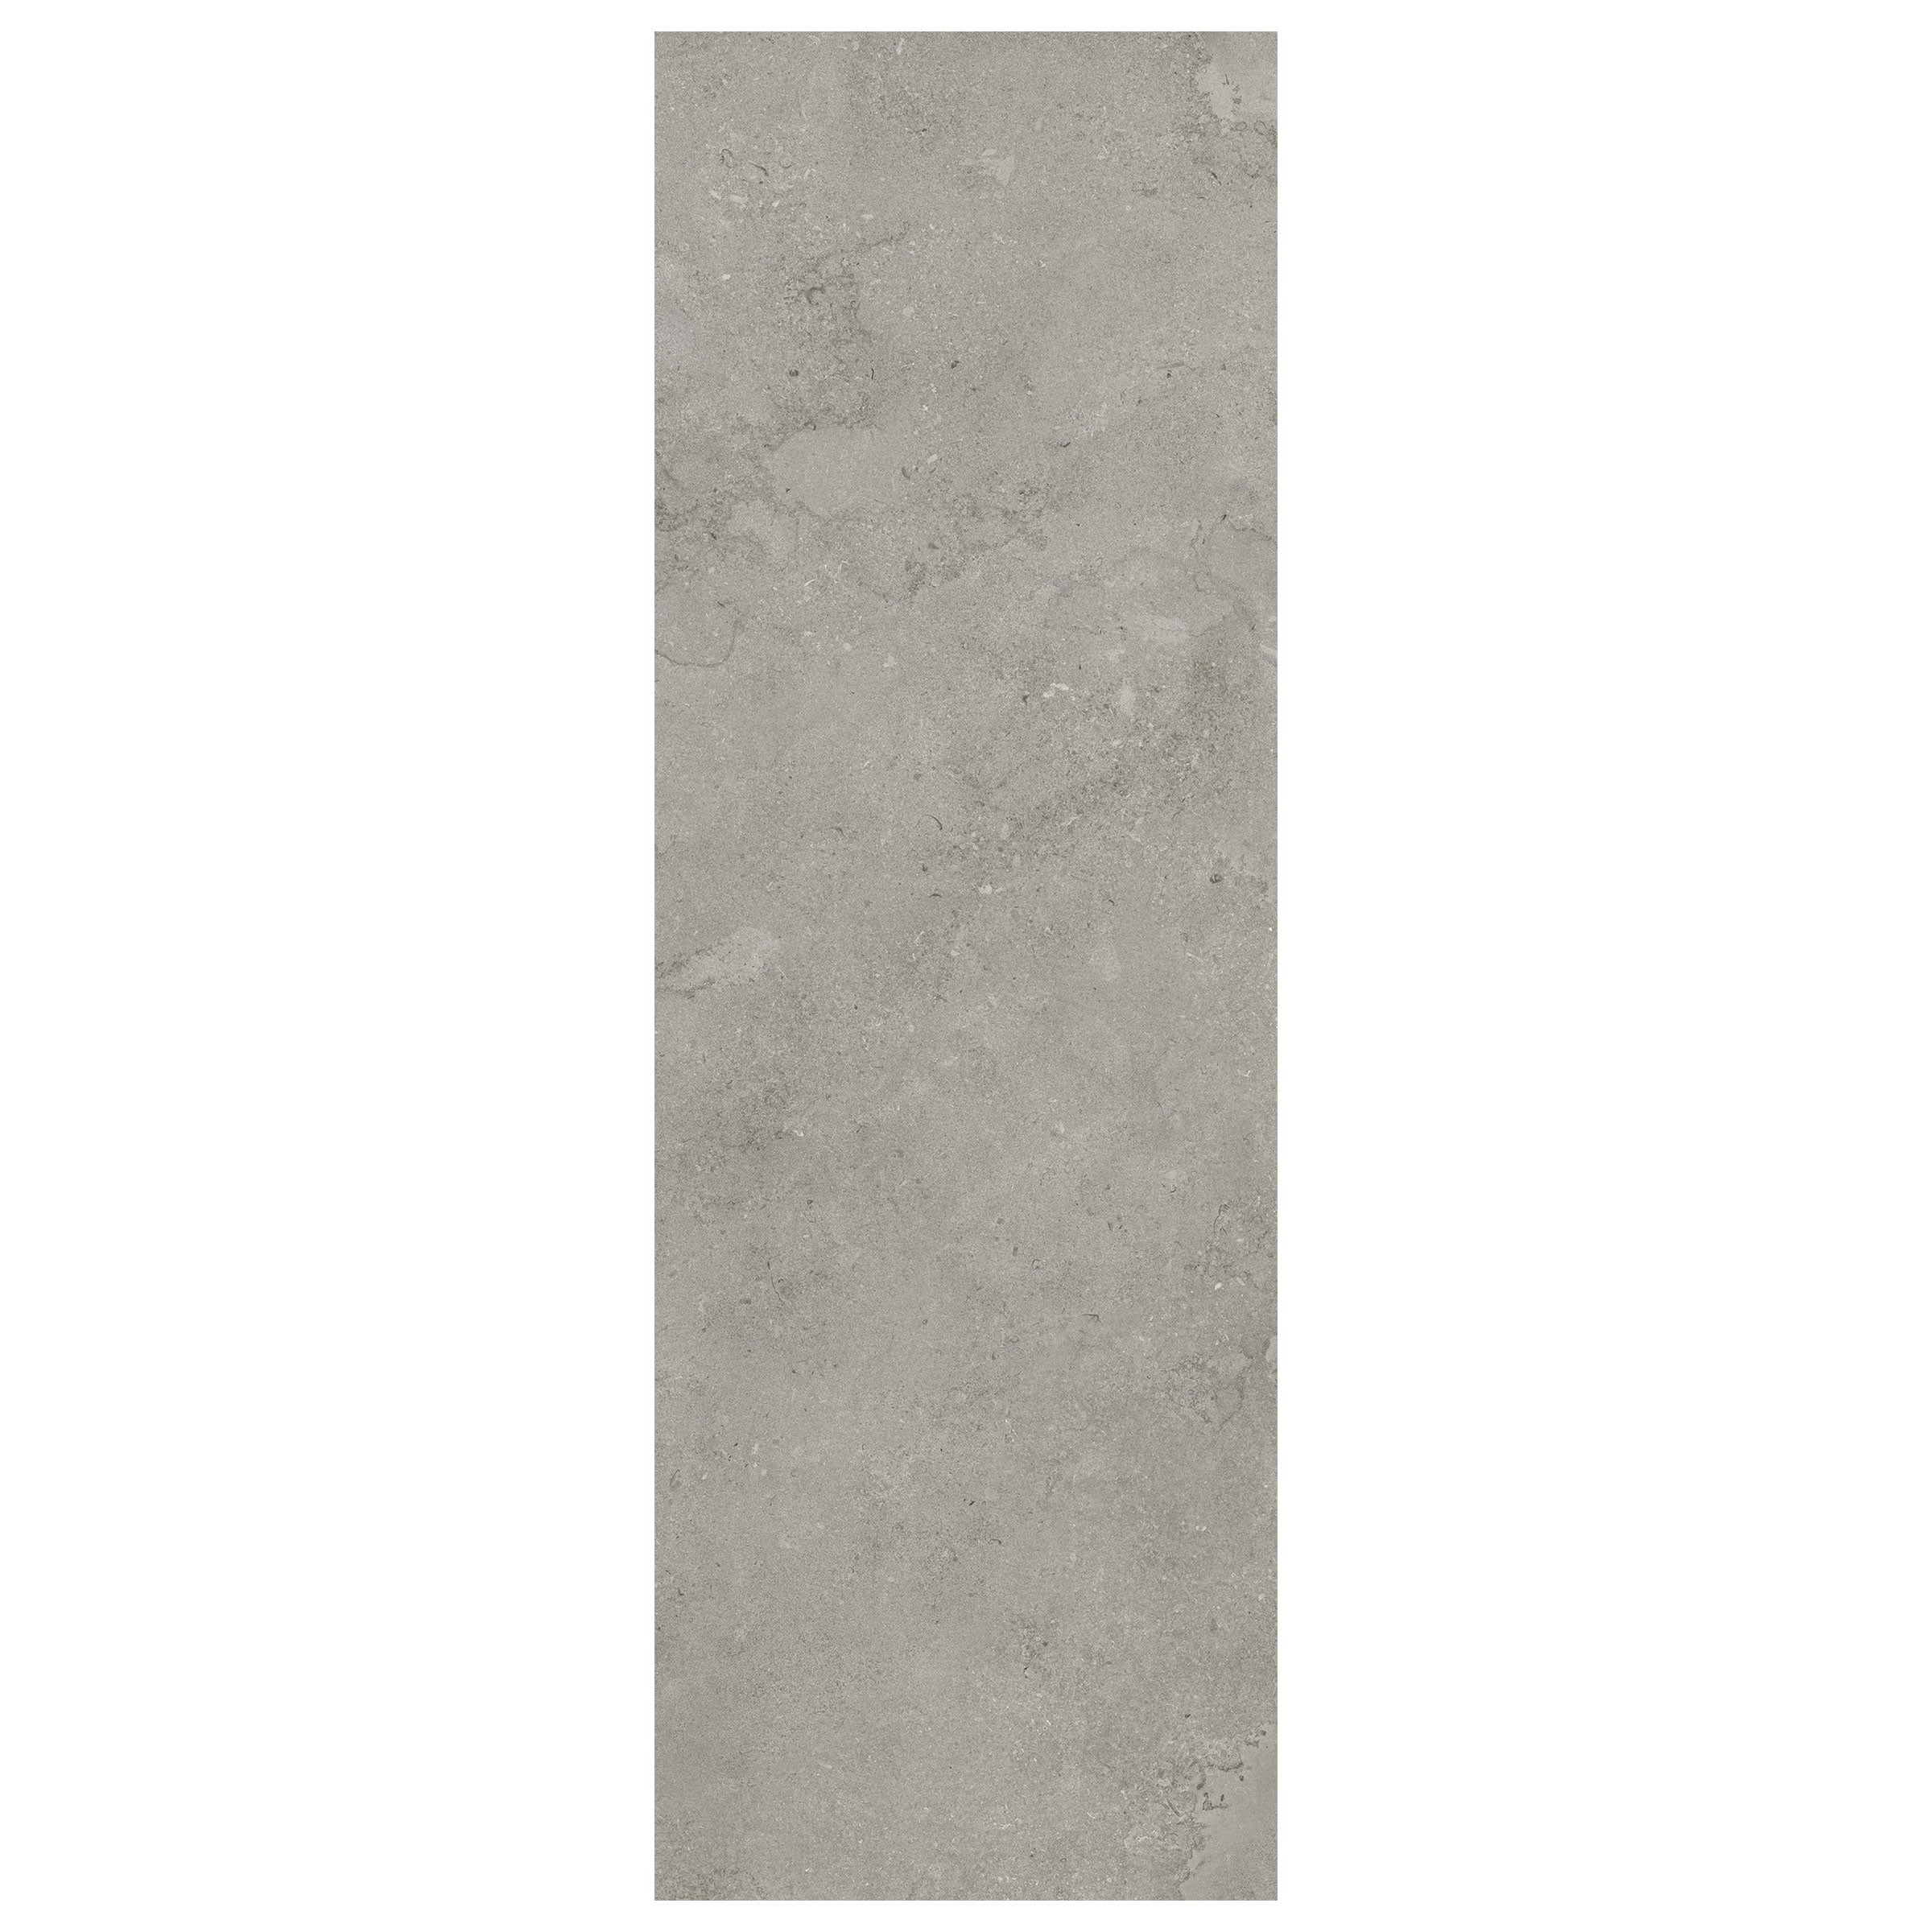
Outdoor Earth

Quartz
Whether you’re laying pavers on gravel, sand, grass, raised systems, or using adhesive methods, these step-by-step guides provide all the details you need for a smooth and successful installation.
Installation on gravel and sand
Direct installation on gravel and sand
The materials can be laid easily on sand or gravel; the system is also easy to remove and reposition, thereby allowing maximum creativity in laying the materials; the system can also be applied either with minimum joint or with the slabs arranged with a joint of at least 1 cm between the slabs.
*The system cannot be used in cases where motor vehicles and/or high dynamic loads transit.
Installation Steps
- Srep 1 : Level and compact the surface (sand or gravel)
- Step 2: Position the 2CM Florim porcelain tile on the gravel/sand bed;
- Step 3: Tap the tiles with a rubber hammer to eliminate any unevenness and fill the joints between the tiles with gravel/sand to add stability to the surface.
- General Indications
Substrate
Level the substrate and compact it with care before proceeding with installation consisting of resting the slabs on the substrate. It is advisable to lay a separating cloth (geotextile) to stabilize the substrate in order to limit any washing away along the gaps / joints between the pavers and to minimize the growth of weeds.
Spacers Between Pavers
When laying porcelain pavers by resting them directly on the substrate, they must never be laid so that they touch each other, as this would drastically increase the risk of chipping caused by micro-movements while the pavers are setting into place.1/6″ joints are recommended for pressed material.
Cuts And Holes
It is possible to cut the material in both damp or dry conditions.
It is essential to use ONLY approved cutting wheels (continuous edge) for porcelain stoneware.
To make holes in the slabs, use diamond drill bits for porcelain stoneware.
Do Not Use A Plate Compactor After Laying
To avoid the risk of chipping the material, never use a plate compactor once the porcelain pavers slabs have been laid.
Edge Restraints
When pavers are laid on draining sand or gravel, always prepare an edge restraint system to hold the substrate material used and prevent any washing away of sand or gravel, therefore keeping the paver slabs in place.
Material For Filling The Joints Between The Pavers
Laying On Sand
Fill the gaps with sand and eliminate the excess material. In time, wind, rain and cleaning activities may remove the sand, therefore calling for some occasional re-filling.
Laying Polymeric Sand Or Gravel
It is a composition created specifically for outdoor paving installation. It is important to use specific sand for porcelain stoneware. This sand is available in several different colors and grain sizes. Once the polymeric sand has been compacted, it will prevent the growth of weeds. Once the gaps have been filled with polymeric sand eliminate with care all the excess material. Lastly, wet the gaps between the pavers with water to activate the reaction of the polymers that will transform the sand into a compact body.
Installation on grass
The 2cm MILE®stone porcelain tile can be easily positioned on grass, removed and repositioned, allowing maximum flexibility in creating different configurations.
2CM MILE stone porcelain tiles can be installed either with a minimum joint, or with a 1/2″ joint or larger (called Japanese joint).
Installation steps
- Step 1: Remove 2’’ of soil in the area where you want to place the 2CM Florim tiles;
- Step 2: Apply and compact evenly 1″ of gravel into the area you have cleared;
- Step 3: Directly lay the Florim porcelain tile on the gravel bed and tap it with a rubber hammer to eliminate any unevenness.
- Easy to install and remove
- Quick water drainage keeping the ground unchanged
- Ideal to create continuity between indoor and outdoor flooring.
Installation on raised system (ideal for rooftop applications)
Mainly, there are three raised floor systems that the customers can adopt to install the 2CM Florim porcelain tiles: fixed support, adjustable support, and self-leveling support.
Installation Steps
Step 1:
Ensure that the area where the raised system will be installed is flat, compact, rigid, and make sure it can support the weight of the new floor;
Step 2:
Choose the raised floor system that best suits your use. Remember that the raised floor has to be installed to provide adequate drainage of rain water.
*Rectified tiles are required for pedestal installations
Warnings: these systems cannot be used when high dynamic loads transit in the area.
- From the aesthetic point of view, it ensures flooring with a single gradient, without any visible water draining elements
- The small gap between one slab and another allows a quick water drainage, it is easy to clean
- Lower load bearing on attics and balconies as the last layer of concrete and glue is not necessary
- Frost-proof, it absorbs the thermal expansions of the concrete substrate, the direct cause of traditional outdoor flooring subsidences
- The gap between the slab and the concrete substrate fosters excellent thermal insulation
- Best acoustic insulation
- Hidden but easy to inspect pipes
- Speed of installation
- Recyclable
- Value for money solution in terms of laying and maintenance, lasts virtually forever
Adhesive Installation
Draining Screed is ideal for garden and courtyard flooring because it ensures that water is drained correctly, using the special glues.
Vehicle Transit Pavementit is ideal for parking lots and garage ramps, thanks to the extremely high resistance of ceramic surface to dynamic and concentrate loads.
- Easy to install and remove;
- Quick water drainage keeping the ground unchanged;
- Ideal to create continuity between pedestrian areas and vehicle accessible areas, using the same material.
MILE®stone is proud to be made in the USA.
Order Samples
Don't have an account with us? Create an account here.
Don't have an account with us? Create an account here.